|
Infopost | 2009.03.28
|
|
 |
 |
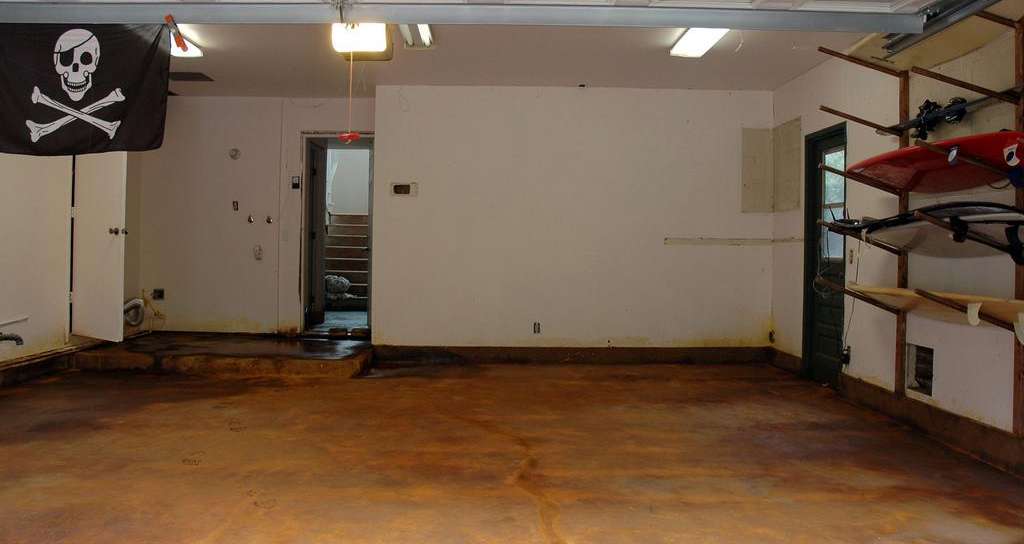
Here's my summary/how to on concrete floors.
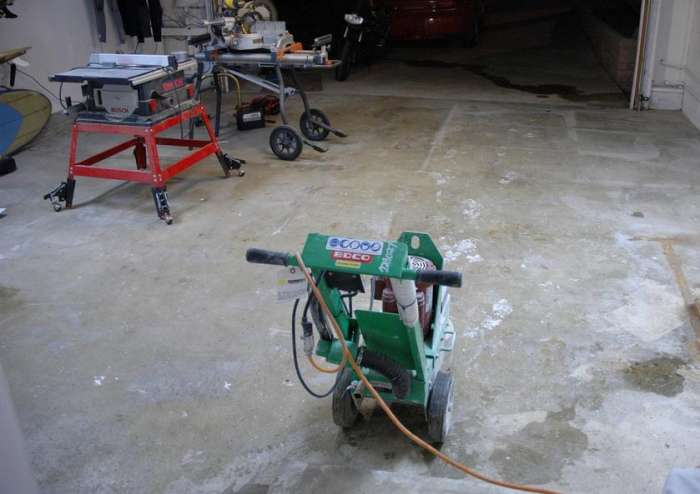
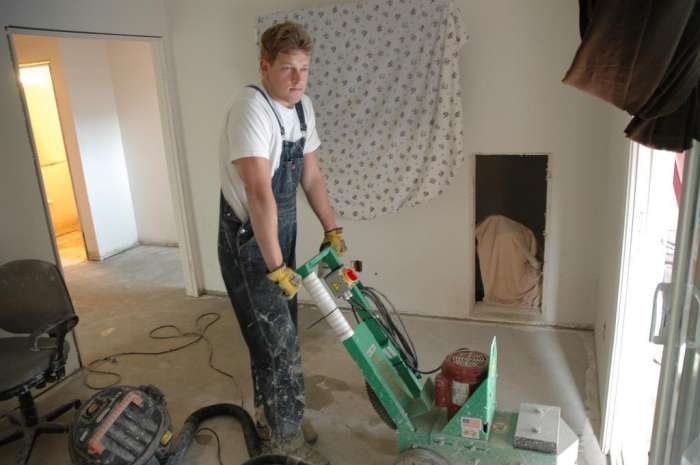
Rent a terrazo grinder, mine ran about 70 for the machine and 60 for three blades. Clear the garage because it'll be
out of commission for a week.
Being able to
hook a hose up to the grinder is immense. The applied water whisks away the concrete dust instead of letting it be thrown into the air. Concrete dust is fearsome.
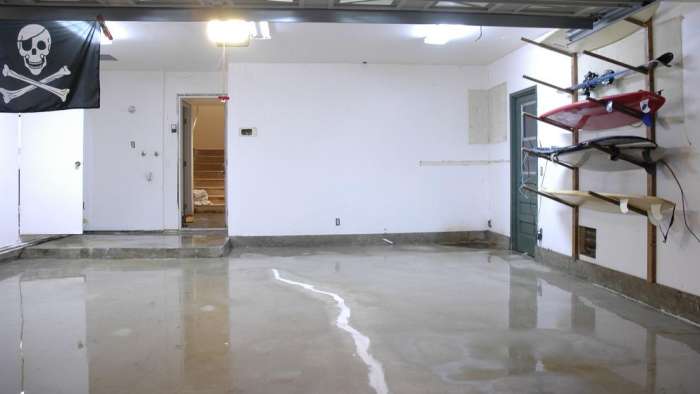
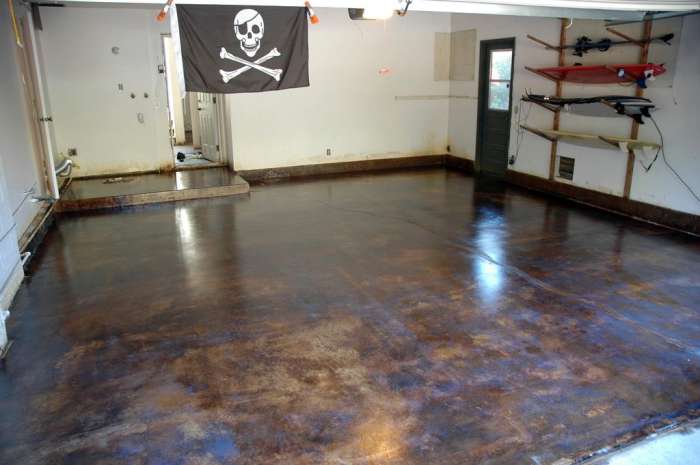
You'll know you've ground enough when the floor becomes nice an white, see right side compared to left above. The grinder will leave swirl marks that will be visible, make sure this is the look you want. Machines that hone concrete are not used on existing residental applications.
A two car garage won't take more than a couple hours, so an
overnight rental is entirely reasonable. An angle grinder with a concrete disc can take care of corners if they matter to you.
The ground concrete should be sandpapery, the epoxy will make it smooth.
Notice how white the floor is when dry (and powdery). Years of wear had both smoothed and stained the concrete. My best guess is that doing the acid without grinding would mute the colors and leave artifacts where there were stains - could be good or bad. I would also worry about epoxy quickly delaminating from a poorly-prepared surface.
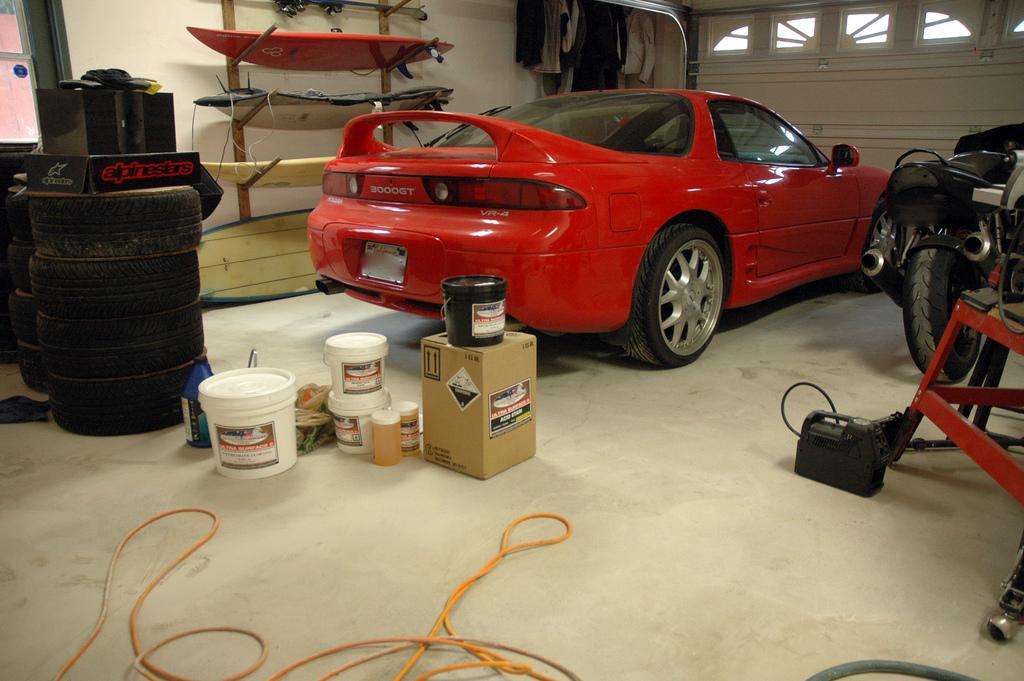
Buy the chemicals. I picked up five gallons of acid for what I generously estimated to be 1000 square feet of concrete (including the inside of the house). When all was said and done
I had only used half.
The shop had prescribed two overlayers, epoxy then urethane. In retrospect
I might have just tried a couple layers of urethane, but more on epoxy troubles later. The square feet/gallon estimates here were pretty good.
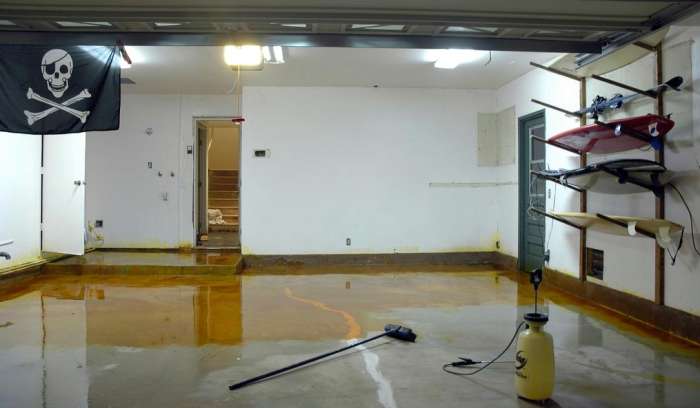
Power wash and/or brush away the concrete dust and whatever else may have accumulated on the floor, the acid should be applied to a wet surface so don't worry about planning for any drying time.
I sealed up a crack knowing full well it wouldn't be hidden by the chemicals. Some might count this as a bonus for the distressed look. I hear there are elegant methods for blending patch jobs into the process, but I didn't take this route.
Applying the acid stain is
best at night since you can wet the whole floor and not have to worry about it drying before you're done. Also, the acid works as long as it's wet, so the longer it takes to evaporate, the better.
Pump spray acid on a portion of the wet concrete and
quickly brush it in. This is crucial and in the end you'll see any areas that weren't brushed. Then apply a top layer of the stain to eliminate brush marks and create some natural variation. Generally the mistiest setting works best here, if you streamed your name into the job it would stay.
The instructions advise removal of excess acid. I did not, since it would require retracing my steps and then spraying more on to cover my tracks. Kind of defeats the purpose. You'll see a layer of oil float to the top of the wet stain but this will just dry on top of everything and it all has to be washed later.
You're supposed to wait at least six hours, it's easiest
just to sleep on it - not literally - and the fumes aren't bad so you don't have to worry about waking up dead.
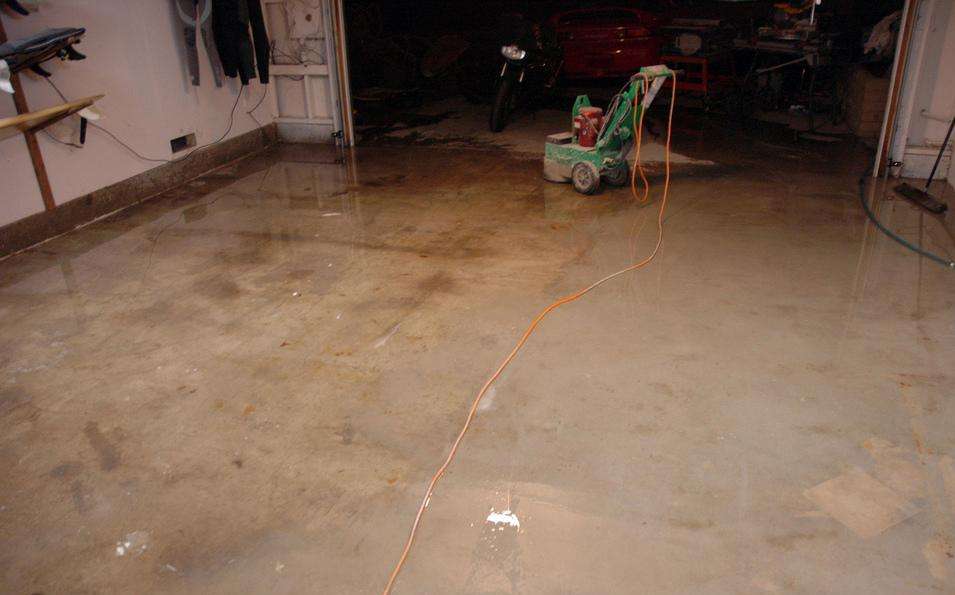
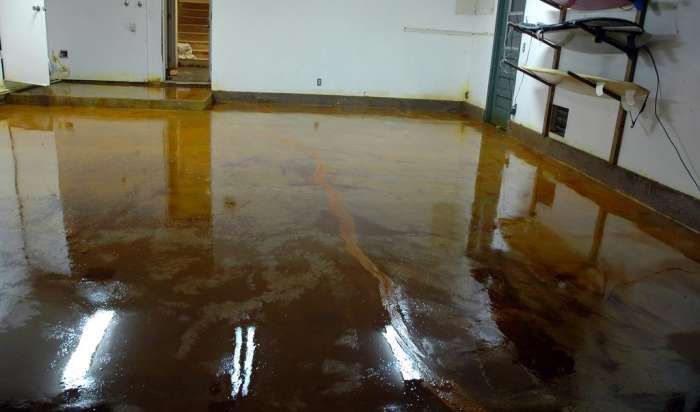
When the acid stain dries it will leave a powdery residue. This should be
neutralized with ammonia and removed.
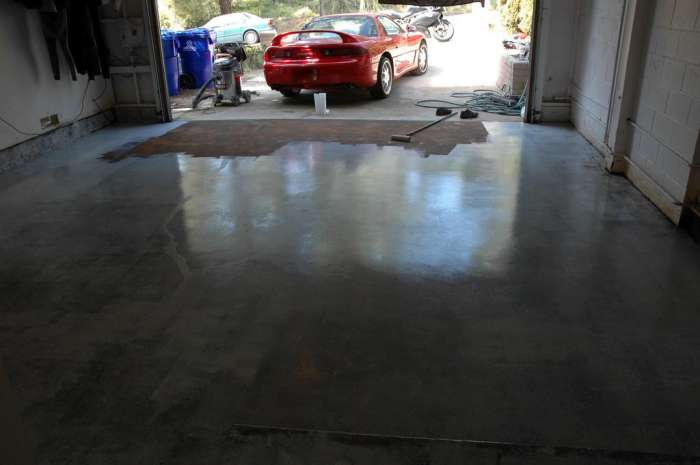
The clean and wet floor will look like a marble, though notice some haze where there's just water sitting on top of the concrete. I can't explain it, though some of it's the fact that I don't have a polarizer for this lens.
The next step is to
apply the epoxy. The instructions say the floor should be clean, but it must also be dry.
Very dry. Even though the epoxy is water-based. And water should not contact the floor in any amount for several days, even though the urethane is water-based.
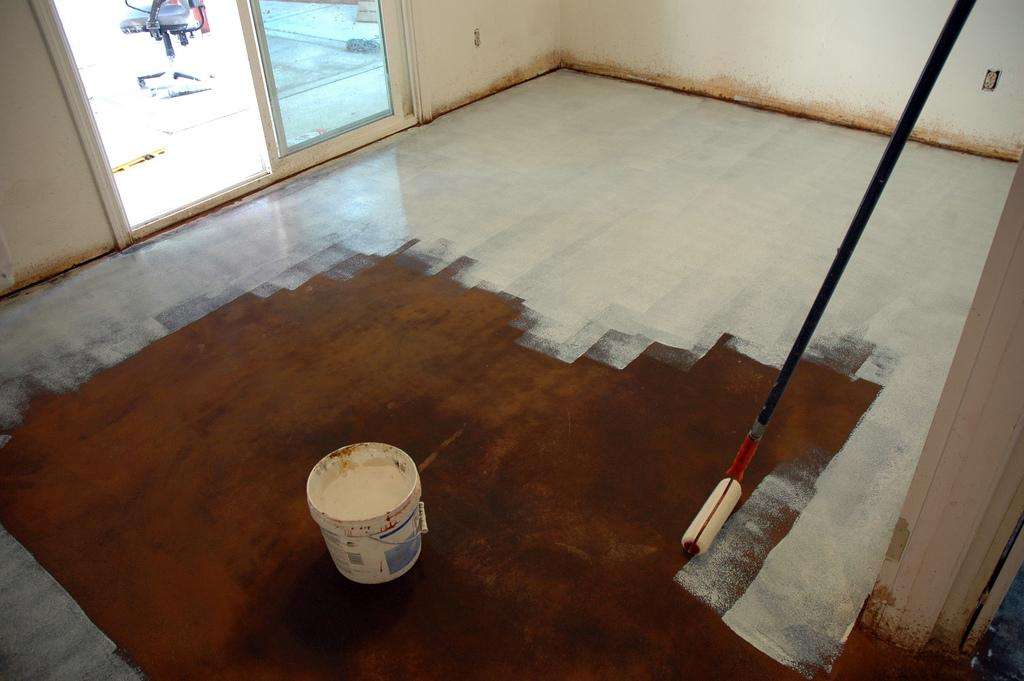
The epoxy goes on pretty easily with a
sturdy roller on the end of a sturdy pole - it's much tackier than paint so the entire mechanism bears significantly more stress. A thin layer is best, I found success going over each spot once with lots of muscle, then very lightly to pick up excess and even it out. Any globs or thick areas will haze and that's quite bad.
I'd recommend against a second coat, but stay on the long side of the prescribed recoat time.
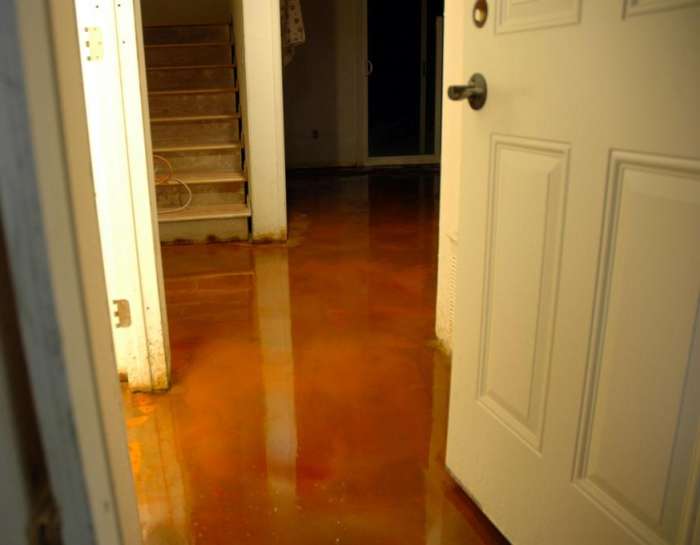
The epoxy goes on white, it'll dry clear.
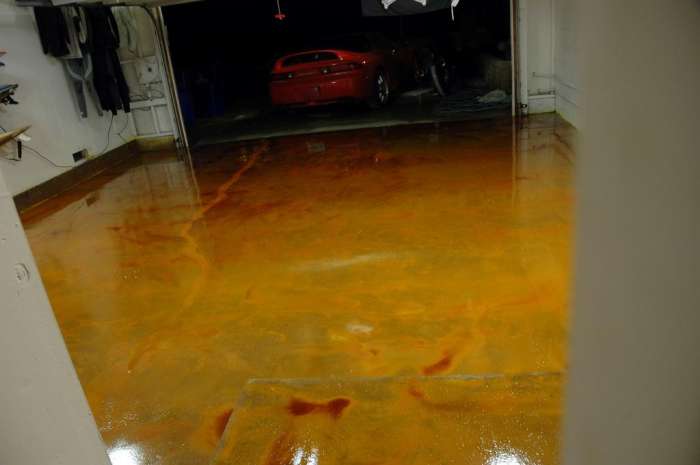
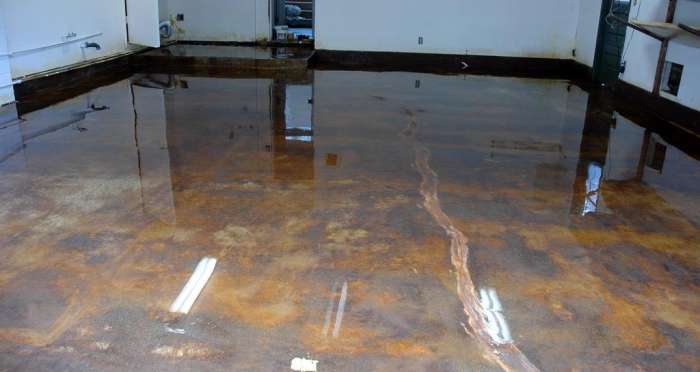
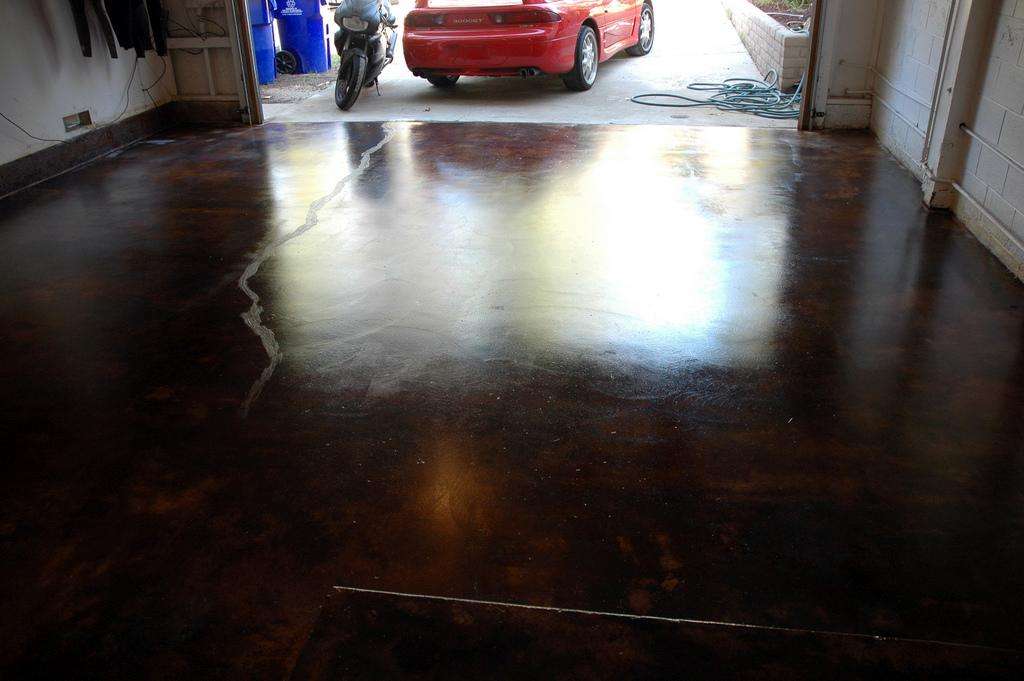
The next layer is urethane. In the image above you'll notice the lamination where the epoxy has been put down, and that the colors of the stain are brought more to life. On the right you'll see the wet urethane.
The urethane is as sticky as the epoxy, but
it goes on easier because it's thinner and the already-coated floor isn't so porous. It rolls on just like the epoxy. This is the chemical that gives stained floors their shine, though a satin version is also available.
The urethane dries pretty quickly, but has a longer cure time according to the spec sheet.
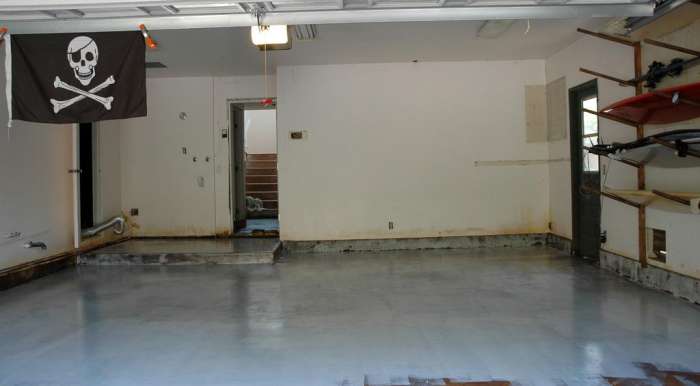
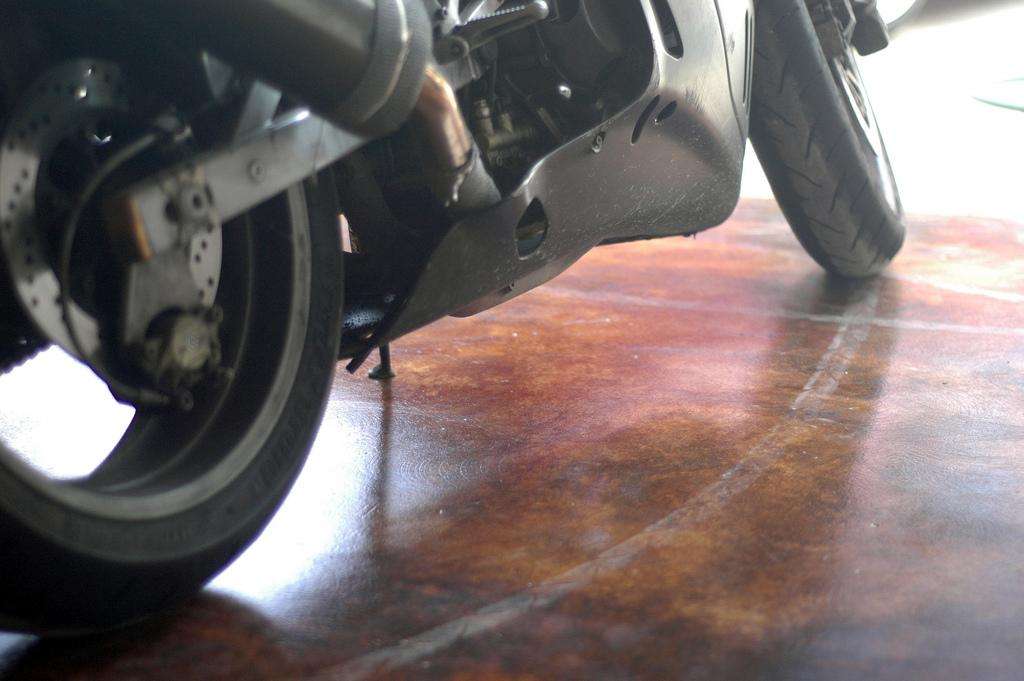
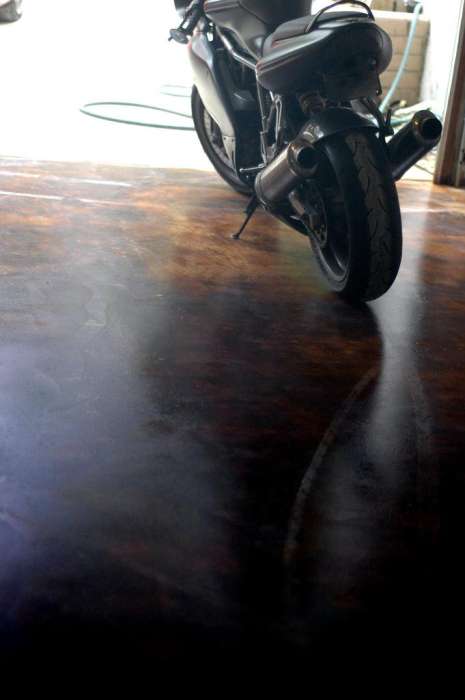
There's the white haze again, called
blushing when referring to epoxy. I'm not sure what to make of it, I might point my finger at the epoxy, but it seemed to also be there when water was sitting on the unlaminated concrete.
Maybe the blushing will go away with the cure, maybe it'll be covered in road dust before then. It's local to some areas and depends greatly on how the light strikes it.
Other than that, I declare success.
|
Review | 2009.03.28
|
|
 |
|
The leaderboard updated and redistributed:
- The Fast and the Furious (7.7): Genre-defining, quotable, unreal
- Gumball Rally (7.5): Still relevant
- Initial D (7.1): Cult, riveting, but give us some shine
- Thunderbolt (7.0): Over the top for better and worse
- Days of Thunder (6.7): Pretty good but not very pretty
- Ronin (6.3): Left in the briefcase: girls, whips, one-liners
- Mad Max (6.2): Brutal action, no frills
- Redline (5.7): Fantastic if watched in a foreign language
- The Fast and the Furious: Tokyo Drift (5.6): Sexy, but unfulfilling
- 2 Fast 2 Furious (5.3): 2 campy
- Driven (4.9): Succeeds in everything unrelated to cars
- Death Race 2000 (4.0): If only they were just racing across town
- Movin' Too Fast (3.3): Well, it has cars
I'll let the graphing experts normalize this to a more pleasing distribution.
|
Infopost | 2009.03.23
|
|
|
|
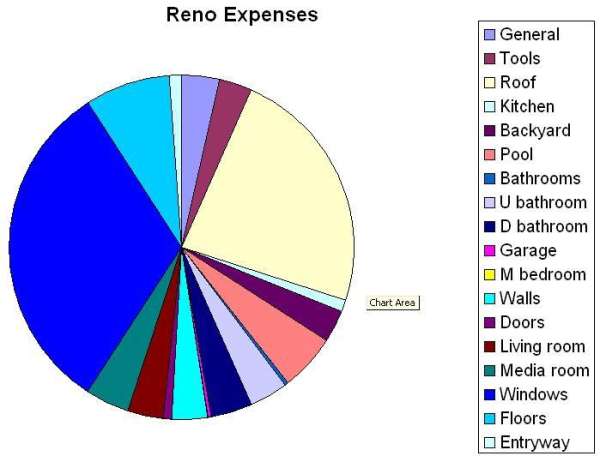
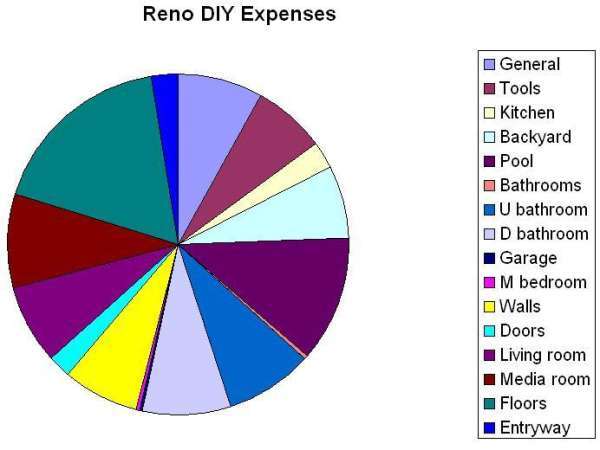
Reno stands for renovations, not the city.
Subtract out the big ticket items, which were hired out.
|
Storypost | 2009.03.22
|
|
 |
 |
We
left off with our heroes needing to
remove some thin set. This called for a terrazo grinder, readily available from
Sunbelt and not
Clairemont Equipment. While I slaved away at a keyboard,
dad and
Jon took care of the downstairs concrete. Not to worry, I partook after they headed back to the Bay.
I couldn't let the familials have all the grinding fun, so I sqeezed some in by moonlight. Then I spent some serious time doing edges and missed spots with the angle grinder.
And that took care of the
most important room in the house. It went quickly and easily because I was able to run a hose to the grinder. This eliminated the most infuriating part of the process, concrete dust.
As such, I can say that polished concrete is kind of a pain to do in a house, but for patios, driveways, and the like - no problem.
So this left my garage a powdery white, both from the exfoliated concrete and thin layer of dust. I stopped by
Concrete Solutions, which seemed to be the only reputable game in town. The rep there was pretty helpful and I got to take home chemicals with cool
dangerous labels on them.
The stain, sealer, and urethane (I guess I need them all) ran
just north of $600 for what I generously estimated to be 1000 sq. ft. That's pretty good as far as flooring goes, even when you factor in a few throw rugs and the grinder rental.
I tested the stuff in a remote corner of the garage, apparently when sealed it appears as it does when wet. It's got a nice variation, looks fluid from an angle, and has some translucency, though that might disappear with multiple applications.
Tonight I went after the downstairs section. The
process was simple:
- Wet down section of floor with brush.
- Apply stain using pump sprayer.
- Brush stain into concrete (immediately changes color so probably important).
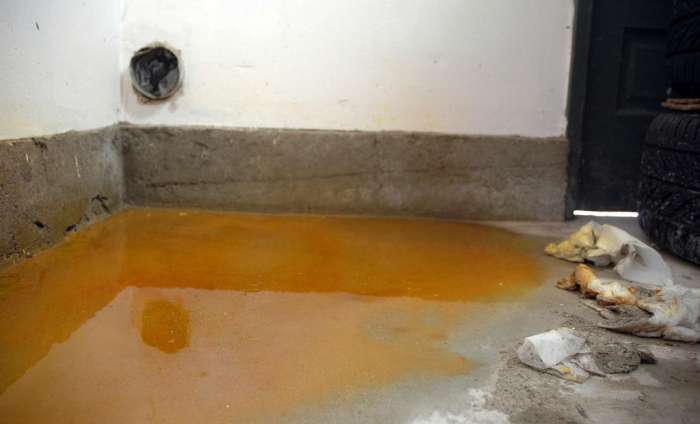
- Apply more stain with pump sprayer to avoid brush marks.I diluted the stain with about 25% water and ended up with a considerable amount left in the sprayer not to mention the five gallon container. Tomorrow may call for another coat, we shall see.
Most enjoyably, after I was finished, the only unlocked entrances to my house were the garage door and lower back door. It was the first time since age six I had to maneuver myself around an acid trap in order to reach the stairs.
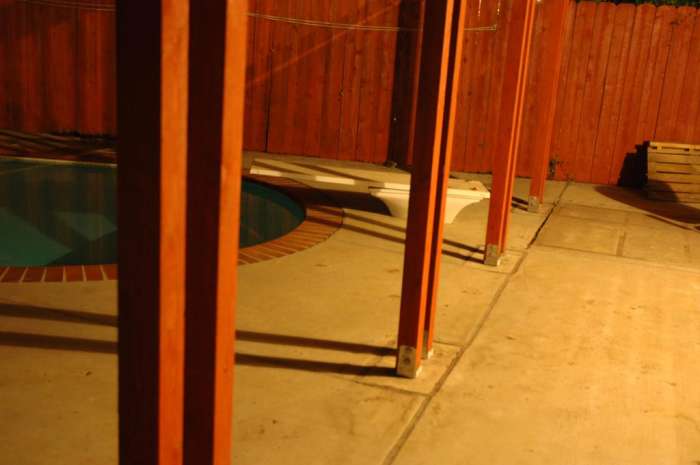
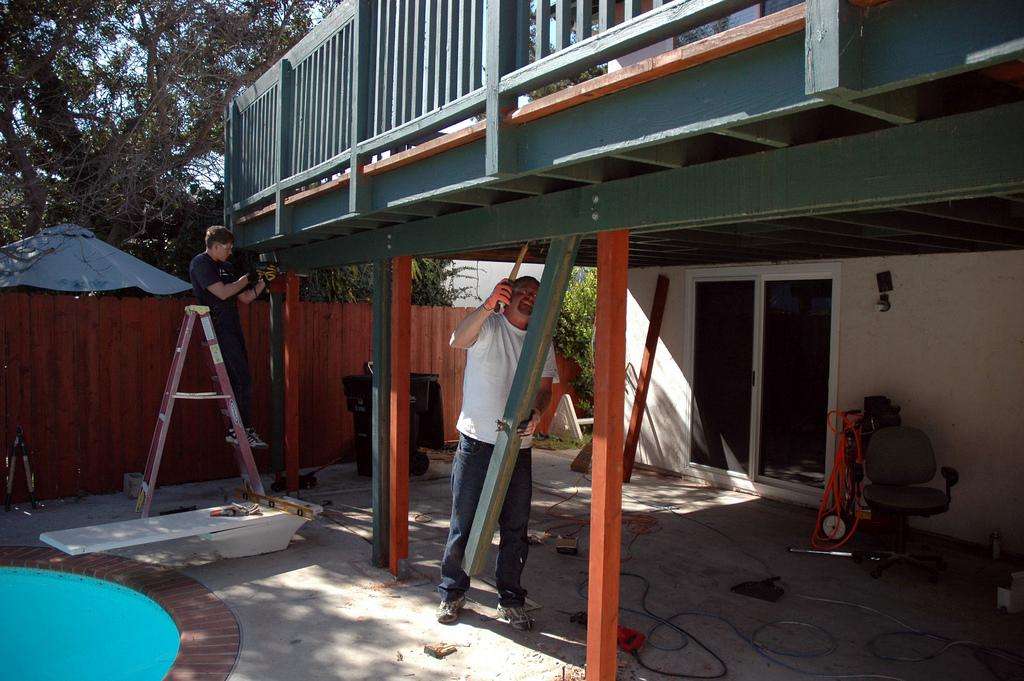
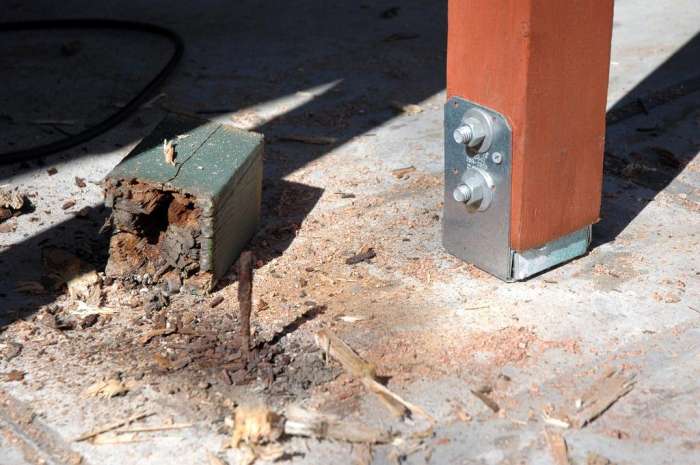
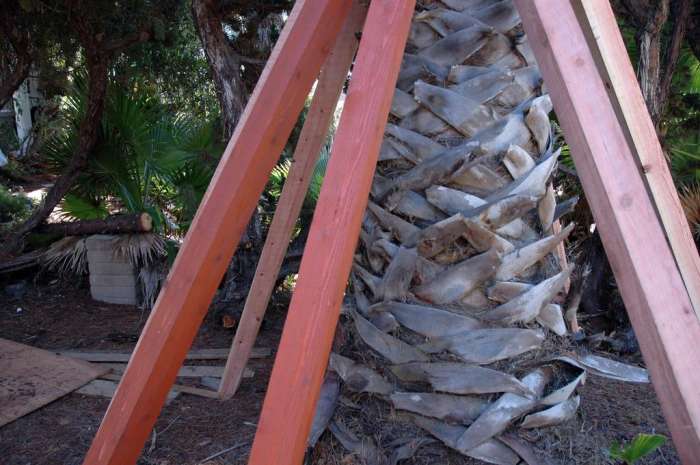
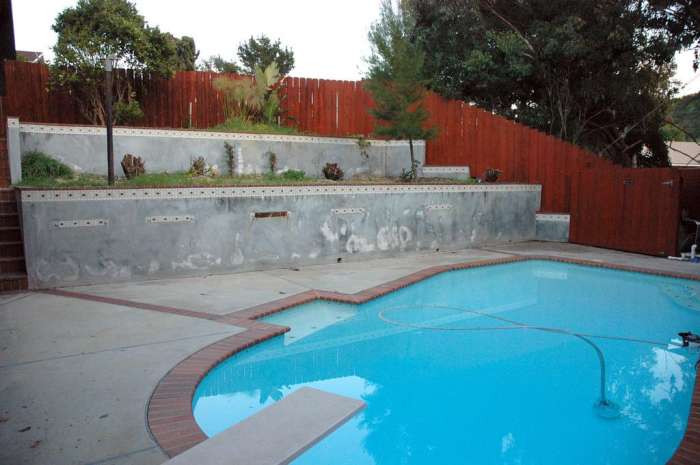
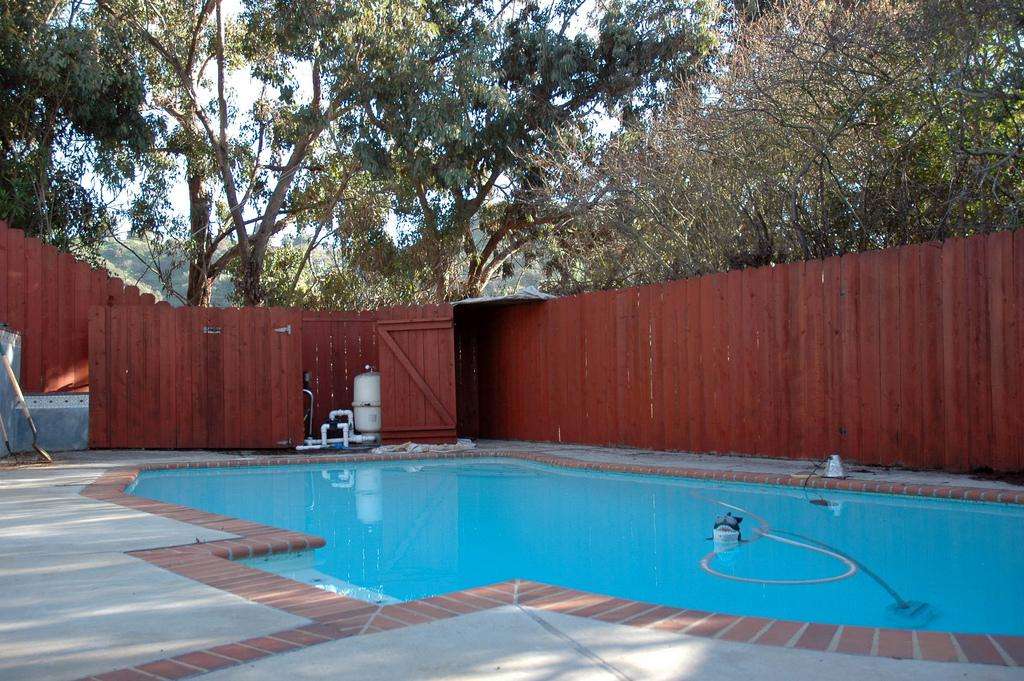
One of these weekends I'll mortar some
brick bases around the pillars. But at least I have a well supported deck.
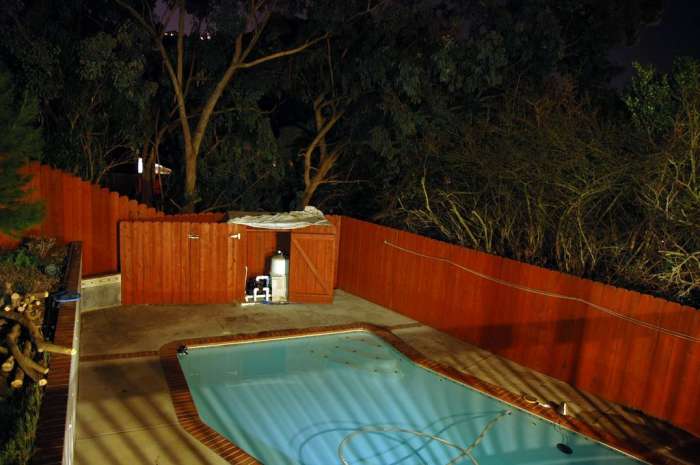
Jon went after the tree that most overhangs the pool.
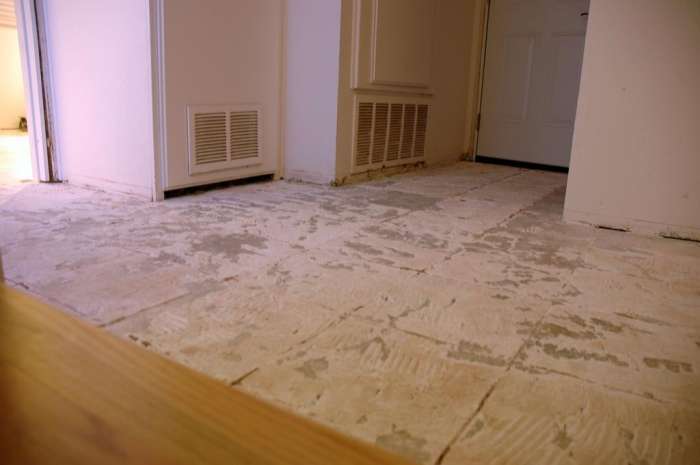
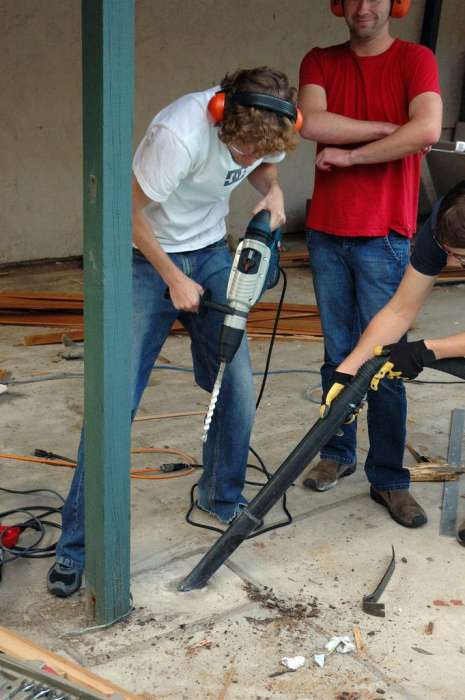
The hammer drill made short work of the
downstairs tile. The next step is to grind off the thin set. If all looks well tomorrow/Thursday, I'll look into concrete stains.
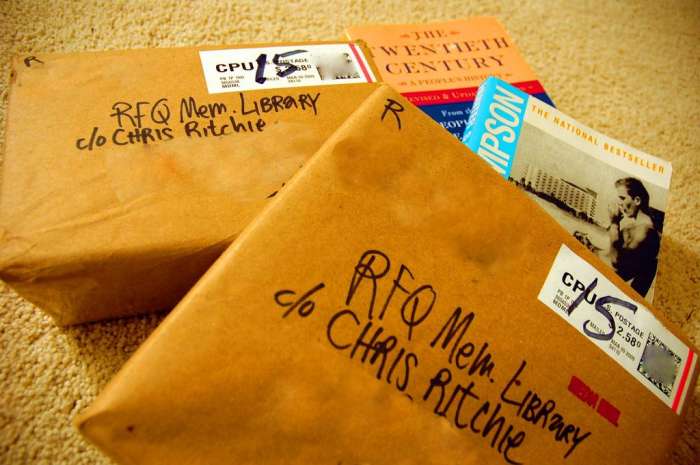
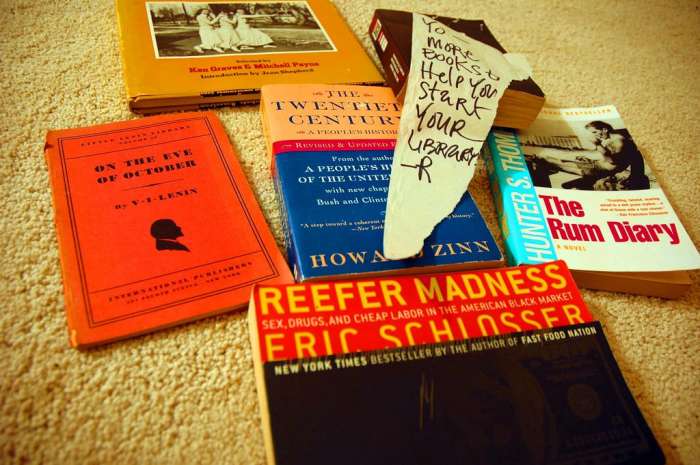
Rfq has been graciously mailing
contributions to the library which so far consists of engineering and mba texts. He's a shoe-in for having a collection named in his honor, but perhaps not the entire library. Should I become party to any groundbreaking bookshelf
designs, I would be obligated to name the structure appropriately.
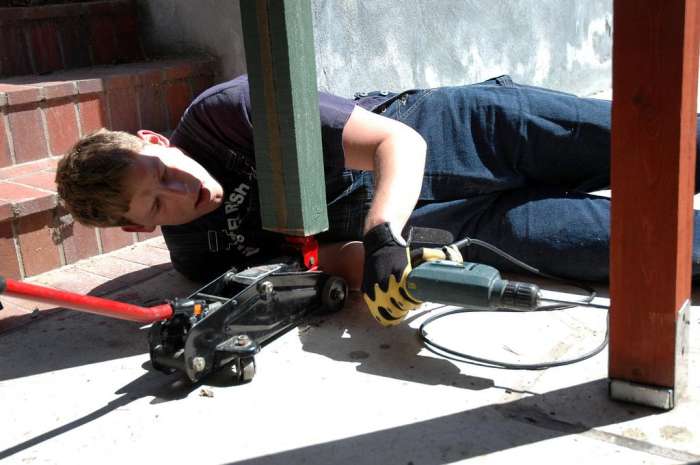
I had quite a few visitors this weekend. The main project - other than good times - was resupporting the deck.
1. Remove every other post.
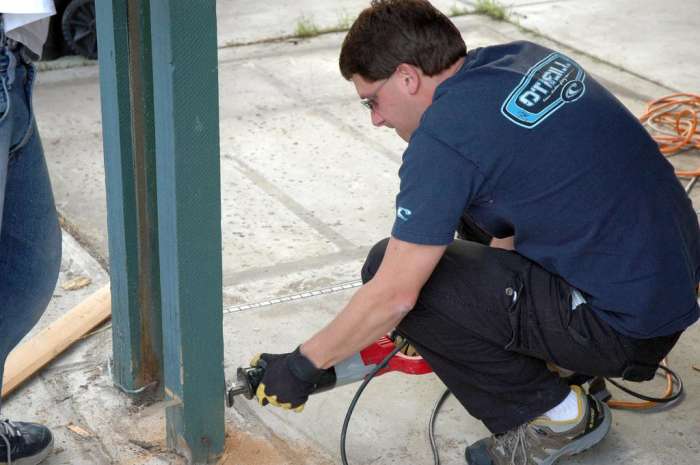
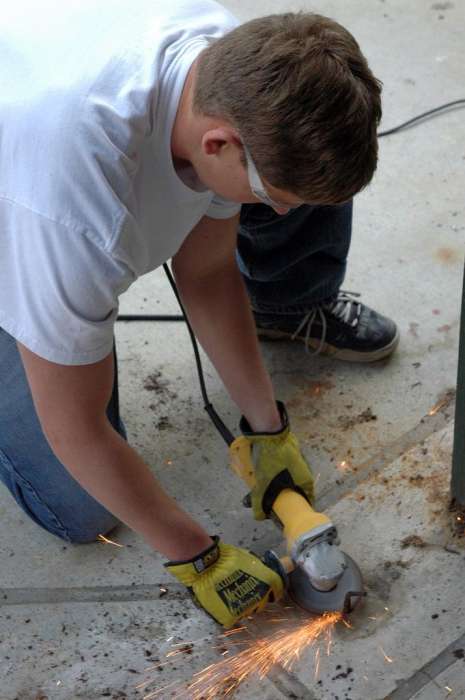
2. Grind away rusted rebar previously used to align posts.
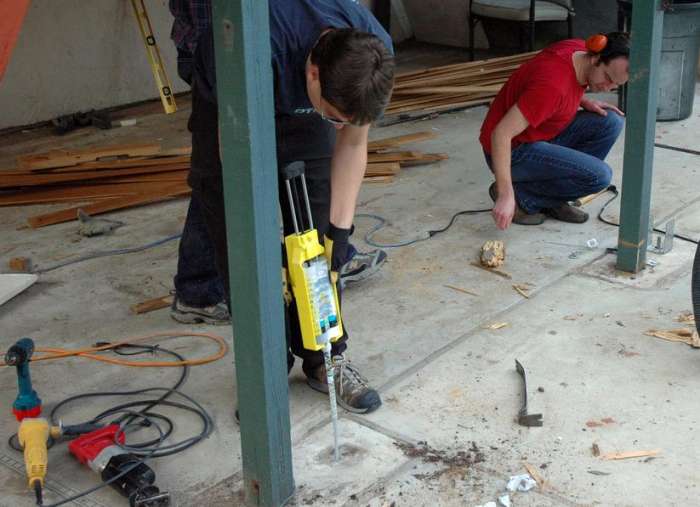
3. Drill the concrete for the new anchors, 5/8" or 3/4" or something.
4. Fill the hole with epoxy and sink the bolt, allow to set overnight.
5. Torque the u-brackets to the concrete, level the new posts and bolt them with 1/2" galvanized hardware.
6. Mime strange things.
7. Raise sagging parts of the structure as necessary.
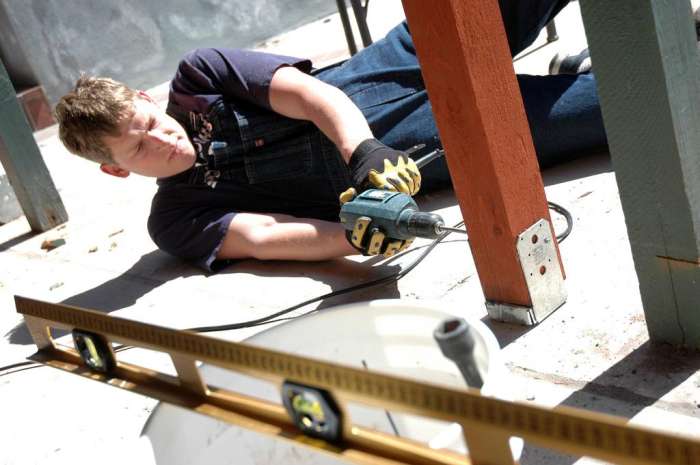
8. Drill and bolt the tops of the posts.
9. Start over with the opposite sides.
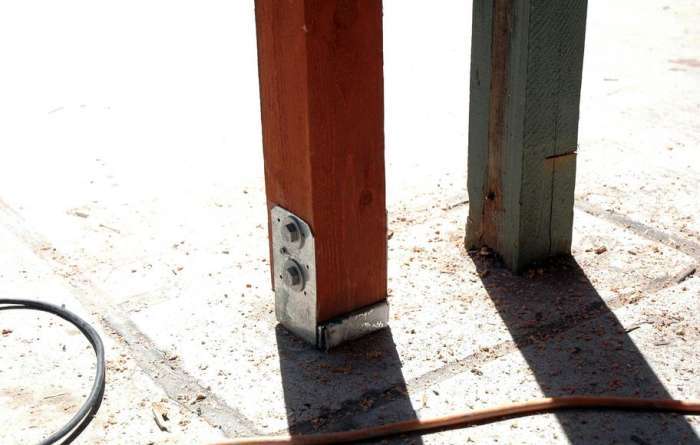
So a
moisture barrier is pretty important. The next step will be to skirt the new posts in brick to make the assembly more visually appealing.
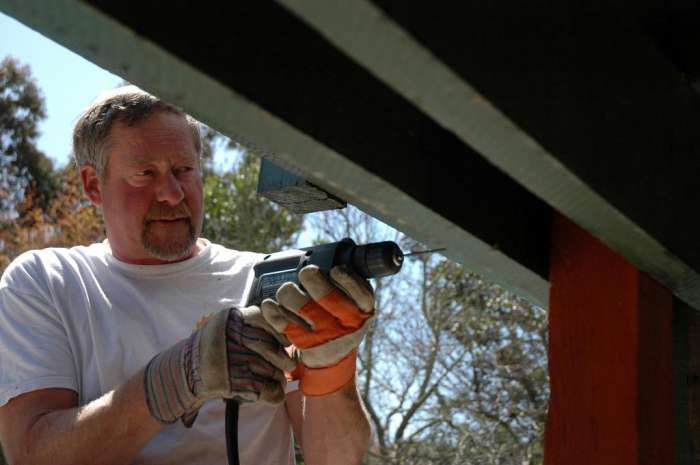
Buying a
hammer drill for the job was not exactly a feather in my cap, but it defintely made short work of the concrete - about a minute to sink the length of the bit. My newfound ability to anchor to concrete opens possibilities in the difficult pursuit of a
pool enclosure. I need a means to deflect falling leaves from the southernmost few feet of the pool. The pool vac handles them just fine, but I dislike
cleaning the filter every few days.
Traditional pool covers will simply dump the leaves and such into the water when they are folded or rolled up, so an
above-water solution is ideal. I'd considered a canopy, though not many can accomodate the 12' width of the pool. Such a structure would have the benefit of providing shade in addition to leaf protection. Anything with a roof and walls is an asset to use of the pool heater, though I wouldn't want the area permanently enclosed.
Being able to affix something to the concrete around the pool means I could do something that resembles a
pergola, but with the potential for a roof and/or walls. This would look better than a canopy and provide a
platform for great things ranging from outdoor lighting to volleyball net posts.
This weekend's roll call:
Benhen.
Catherine (sp?).
Pops.
Bear.
Jes.
Kim.
Me.
Patrick Swayze Jon.
Ted.
Oops.
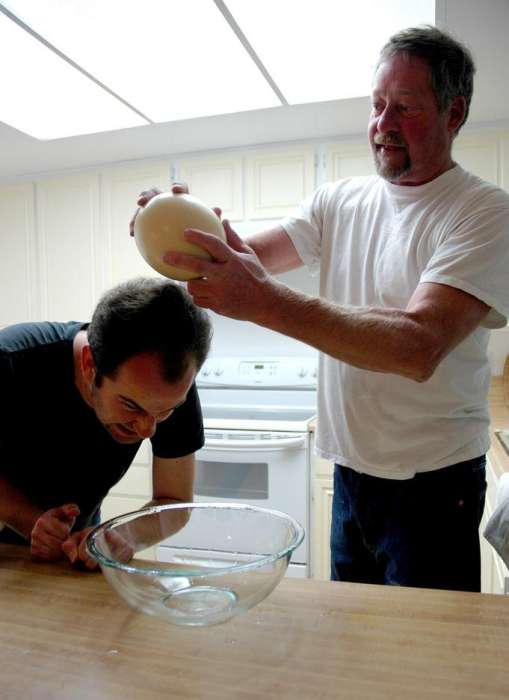
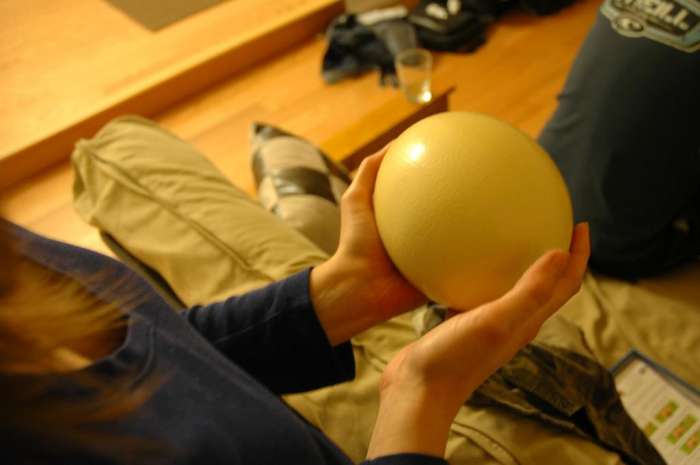
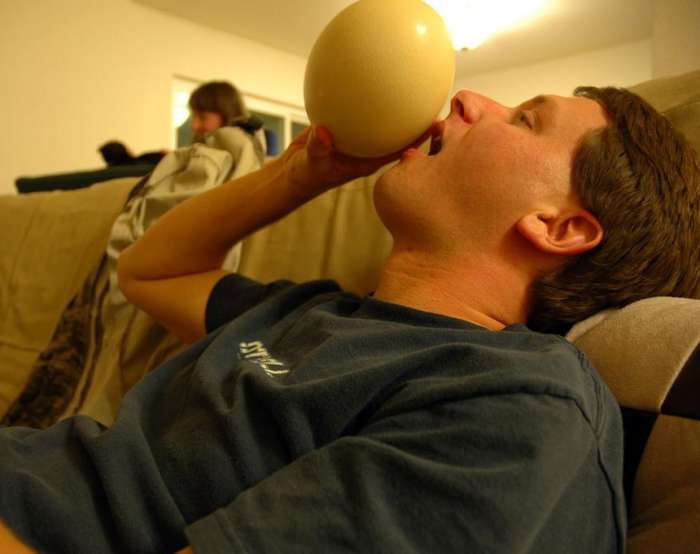
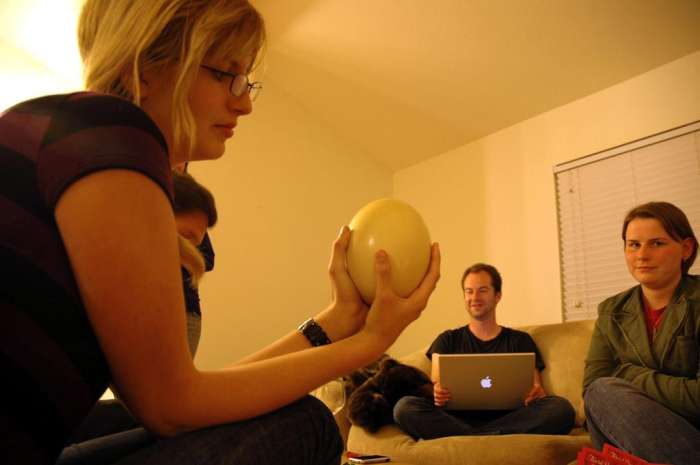
So that's an ostrich egg, slated for scrambling tomorrow morning.
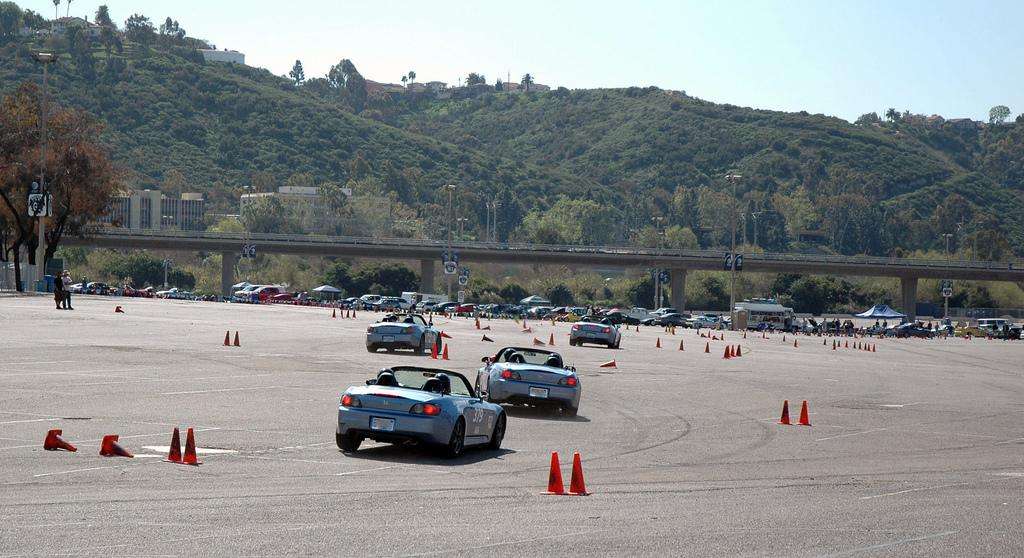
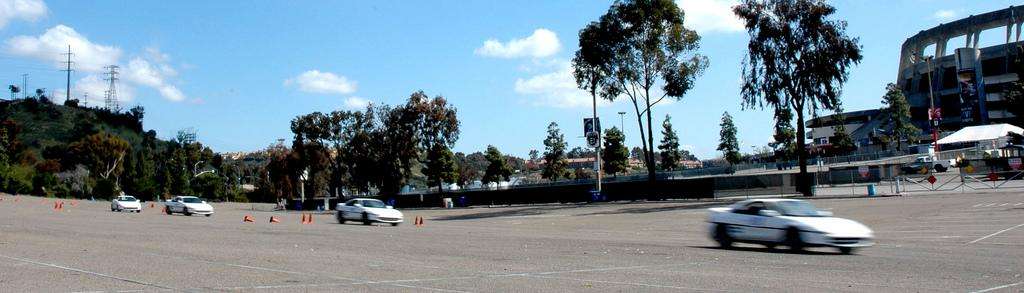
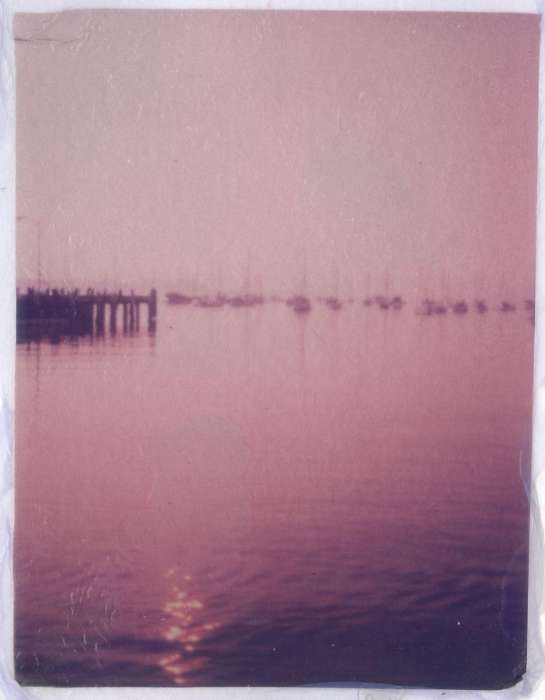
The final presentation for photo is Wednesday, so I've printed a few more things. Here are some film shots from the
March 7 autocross.
|
Storypost | 2009.03.08
|
|
|
|
There was a
scnax event this weekend. I stopped by to shoot a couple rolls and a few megs. The contact sheets are looking promising, we'll see if there's anything I can use for the final.
Replacing the
deck supports is upcoming. I snagged some redwood for the task, though it kinda led to a
ydiw moment.
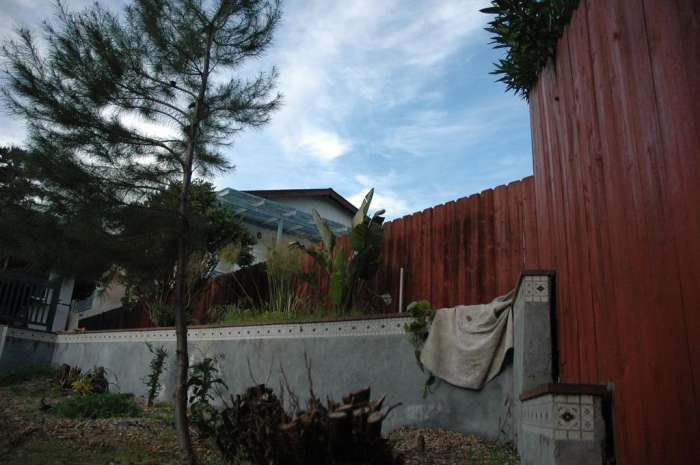
Oh well, the posts are
painted, as is the rest of the backyard. Cheers to that. Once I haul away the last wall of the sauna it'll look okay - save for the halfway landscaping.
I'm pleased to announce my new
ethics services program, called Equal Cup. Clients of Equal Cup will be given the exclusive opportunity to purchase
Starbucks offsets in order to reduce their impact on society. These offsets can be earmarked for any competing chain or a local establishment and I will personally see to it that every offset cup is thoroughly enjoyed.
And I was pretty happy about
Watchmen. I suppose there's a glass ceiling to crediting any adaptation simply because it's not an original work. But the production was so faithful and detailed that I'd say it did great justice to the original media.
|
Storypost | 2009.03.04
|
|
|
|
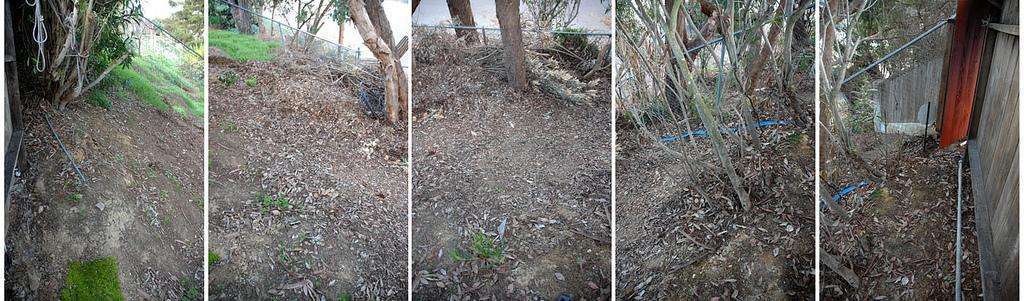
By popular demand, I give you the
area behind the fence. You can see the recently planted scotch grass that needs to get growing. Uh that's about it. It's steep, it's under some trees, yep. Nothing to see here, move along.
The fence isn't close to done thanks to the mere hour of daylight after work. Hooray for
daylight savings on Sunday.
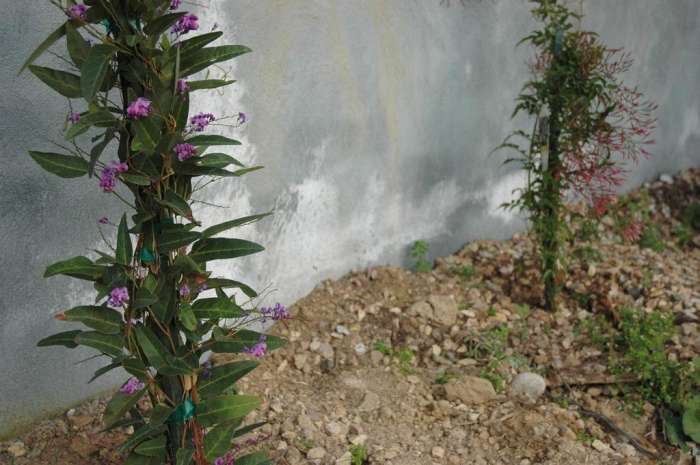
There's some more plants now. The one on the left is named Larry.
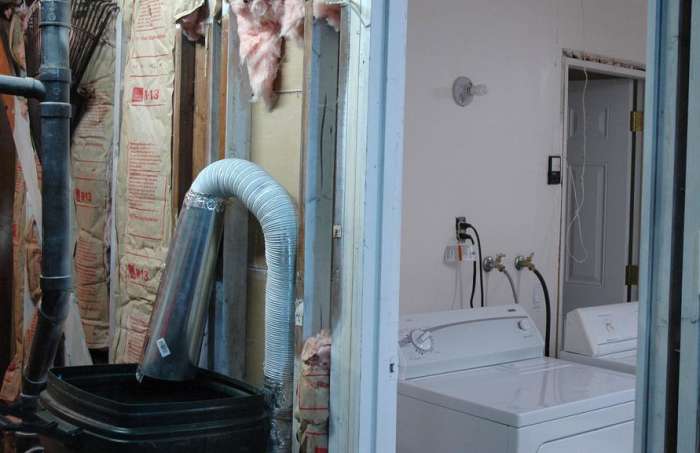
So I could leave the dryer vent alone and let it outlet under the house. Or I could go back to what I presume was OE and run it across the back of the garage to the side of the house. But in the interest of a clean looking solution I'm venting into a sizeable garbage can in the side room.
Of course, the only thing that comes from the pipe is moist, hot air so there isn't much for the bin to collect. It worked pretty well for my first load of clothes, there was condensation on the bottom of the can and nothing got exceptionally hot.
The above image brings about the important question of whether I should insulate and drywall the side room for
style and comfort, or leave it as is for
easy access.
Assignment five was due today. Tuesday night I hadn't shot anything so I made a few stops in La Jolla and Carmel Valley to basically document myself harassing friends. It went pretty well.
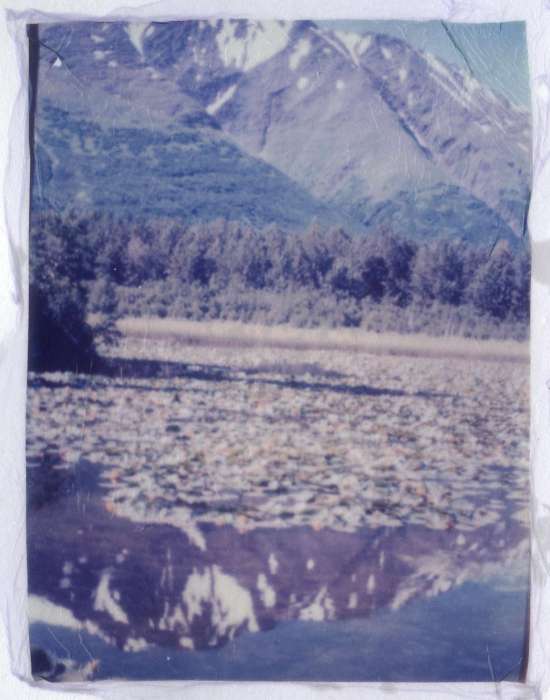
In class we did
polaroid transfers. I dug up some old slides from Alaska and the '03 fires. The process loses a lot of color, some framing, and significant sharpness, but it's cool to be able to stick it on stuff.
Spoken:

|
... or maybe I am just making up the whole thing. But either way it starts a good rumor.
|
|
|
doode.. you have to share the dream.. that's how it goes weasle!
|
|
|
i woke up agitated like the D76 developer!
|
If you happen to watch
Lost and tivo tonight's episode, check the teaser at the end for '... and
loyal ties will be tested.'
For whatever reason I decided to do the
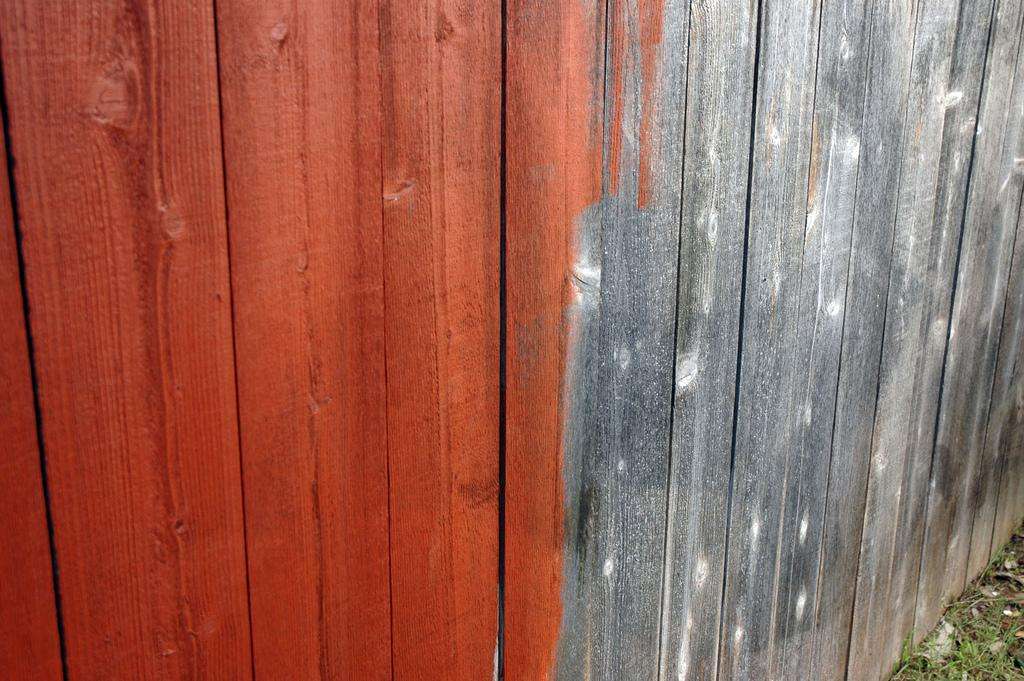
fences this weekend. Well, I decided to start the fences. I'm maybe half done.
Same thing as the deck, and it matches pretty well with the red brick. For prep, I diluted the Behr finish stripper and pump-sprayered it on. Then I hit it with a brush followed by the hose. It worked pretty well but took some serious effort.
Some areas are a bit dark and will need a second coat of stain. I was getting about sixty planks (one side) out of each gallon. I estimate
seven gallons for a single coat.
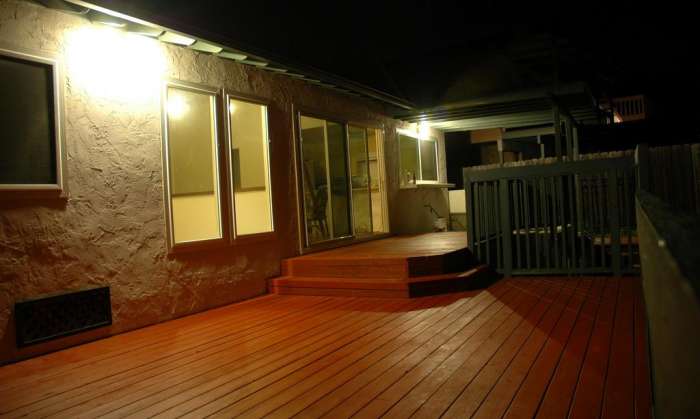
Many thanks to Jessica and her gymnastic painting abilities,
Jessica Lee Pool House looks good next to
Rob Queenin Memorial Pool and the D. Lane Juniper Stump Grove.
The deck can now be walked on for the opposite-angle view. I need to start thinking about sweet outdoor lighting.
I've spent some time organizing the
storage room. I swapped out two flourescent fixtures, one broken and the other an unnecessary 100w. The replacement fixtures illuminate such areas as the paint/chemicals alcove on 50w.


