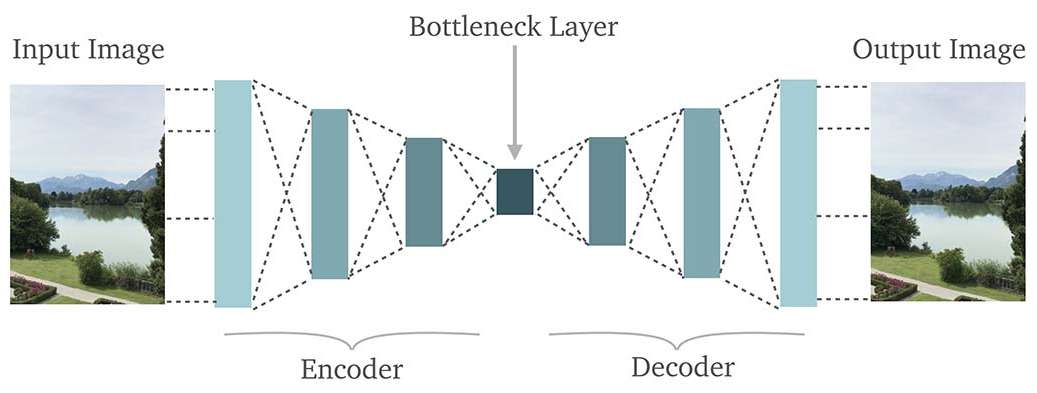
Autoencoders are primarily used to perform image denoising (and as ML examples). AE compression does not stand up to mathematical algorithms, but neural networks can learn graphical features and draw them into an image. An autoencoder can also generate/repair images by tweaking the 'latent space' which is basically the network's abstract idea of what is in the image.
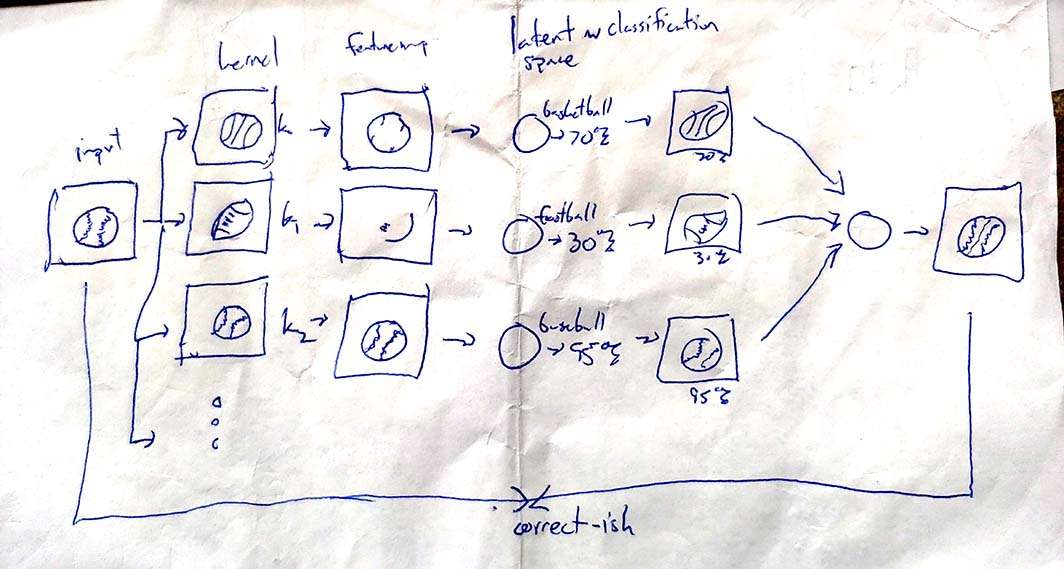
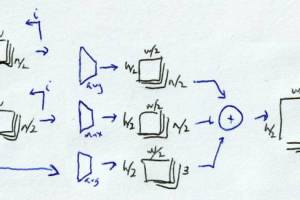
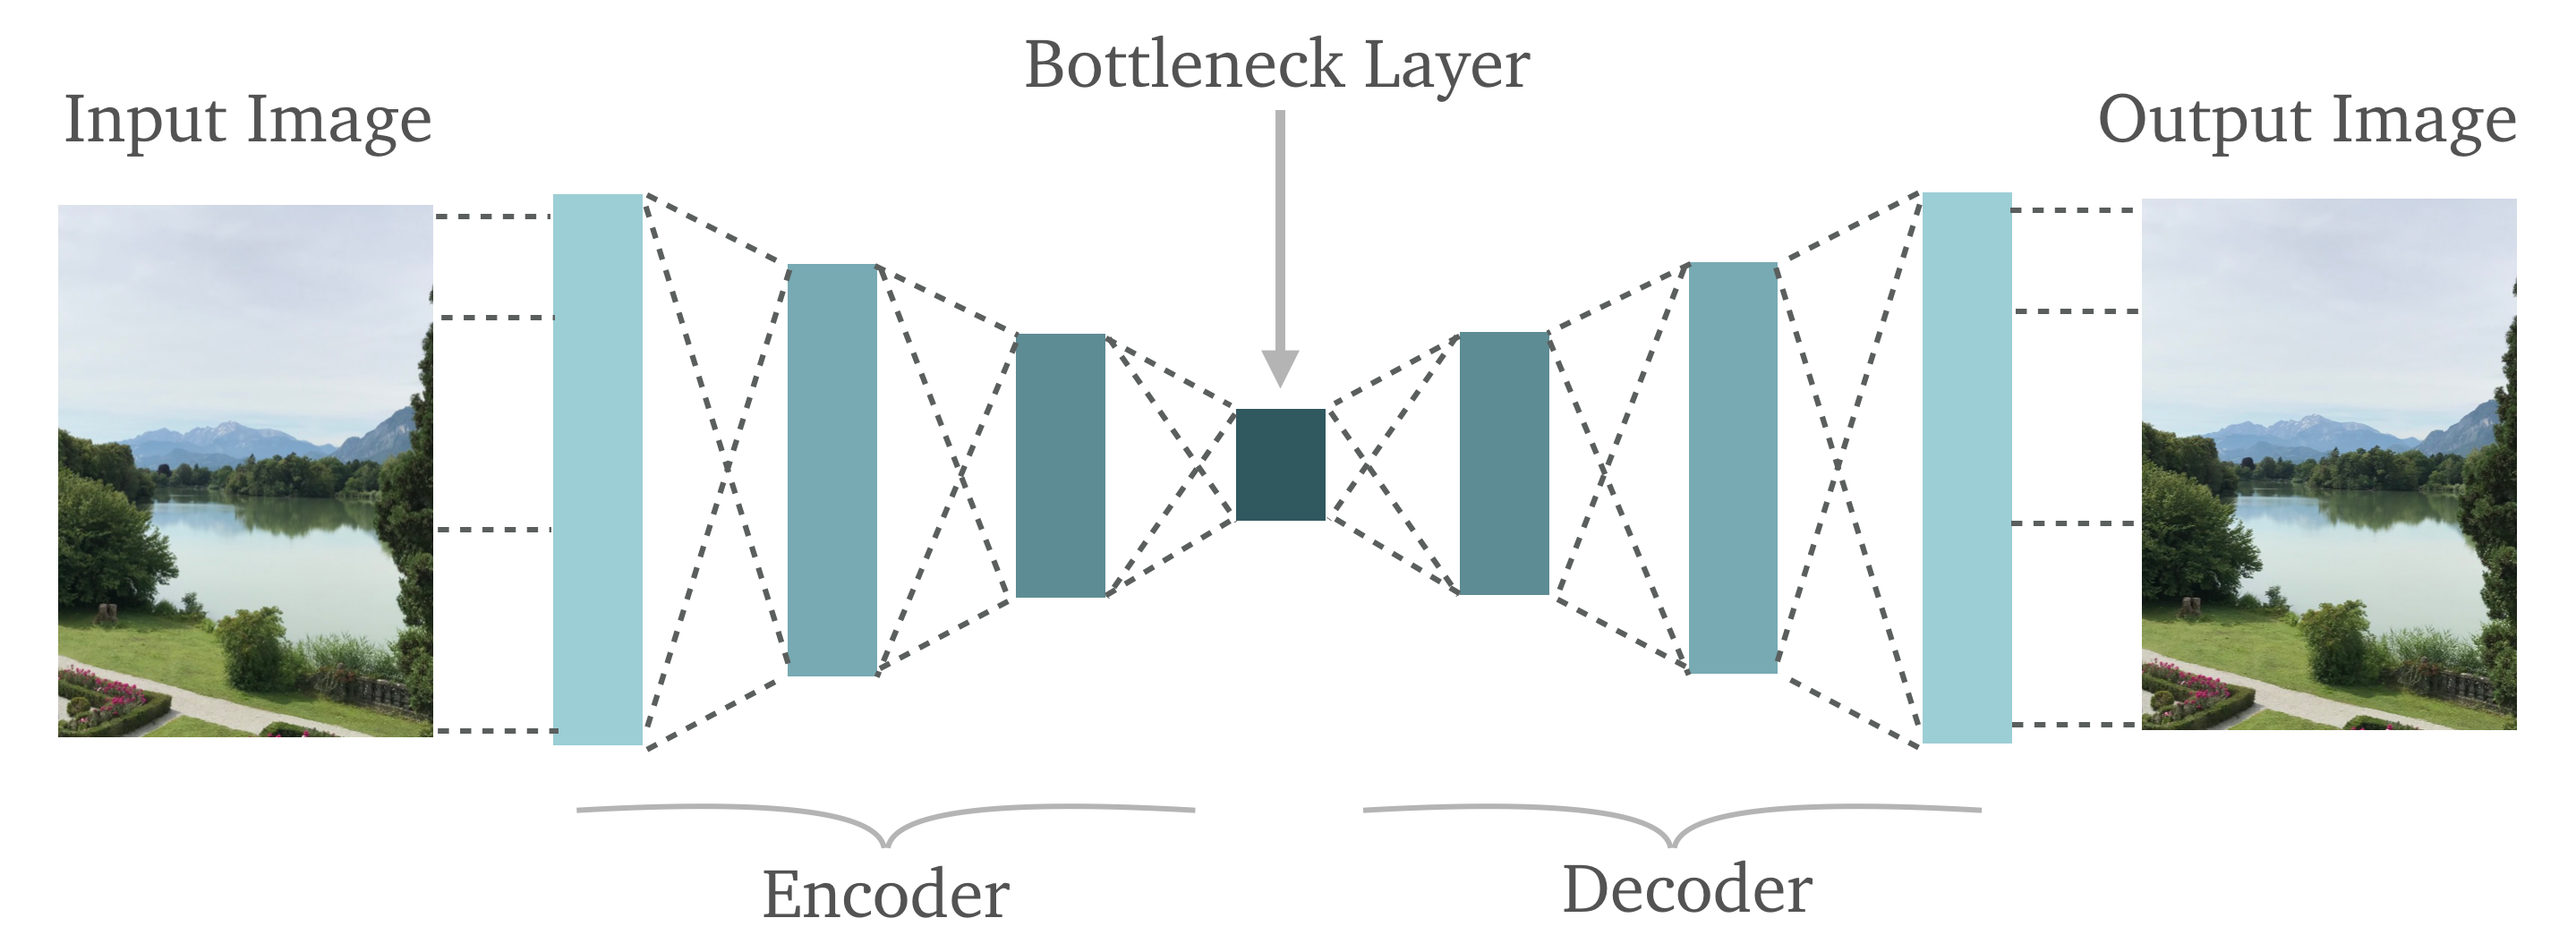
I tried to draw my best understanding of a convolutional autoencoder on a cocktail napkin (with oversimplifications described later). An autoencoder might learn what a type of ball looks like and use that information to redraw it, given partial or complete information. The latent layer amounts to a classification or set of classifications.
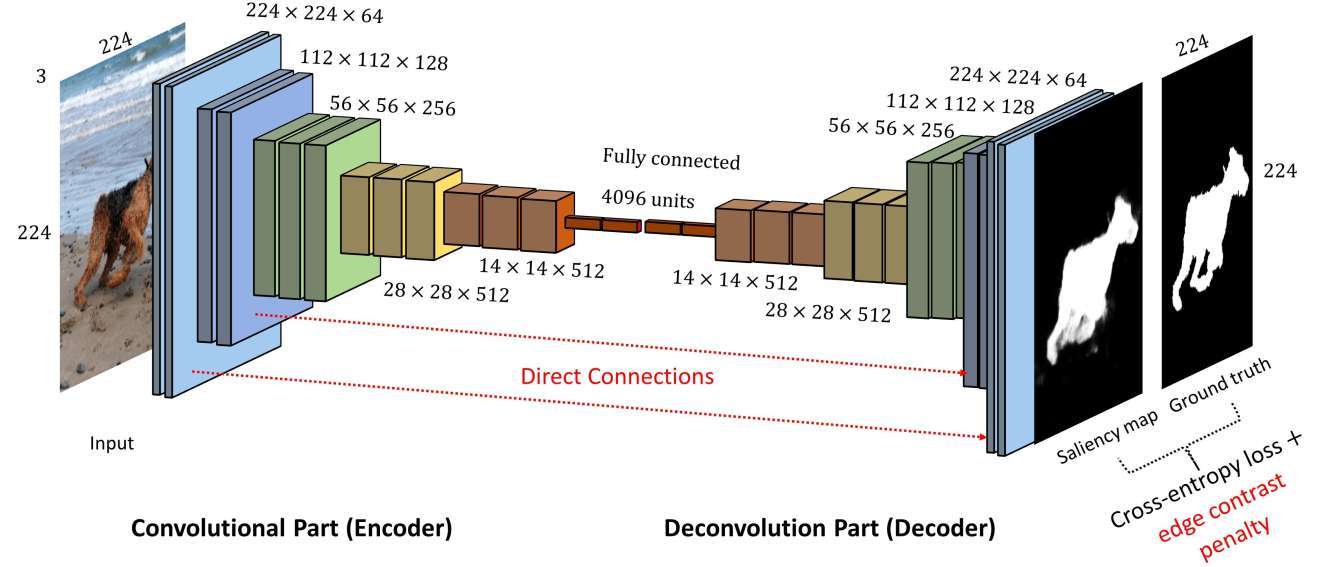
The encoding portion consists of convolutional 'kernels' (m-by-n filters) that get dragged over the image and produce a 'feature map' that is basically how the image is seen by the kernel's understanding of the world. Convolution is necessary to see features in a position-independent way.
The latent space reads all of these filters and decides what is in the image, kernels that don't recognize anything will not be as loud as ones that do. The decoder then takes this information and redraws the image using transpose convolution (the inverse of the encoding portion). By comparing the input and output, the network can learn without classification or additional supervision.
The above drawing uses kernels that see an entire ball. In practice, they only recognize certain portions of each object. By having many layers (left to right), the interpretation of the image gets more abstract.
Troubleshooting
I don't quite remember where I left off with my previous attempt, but in giving it another go, I hit something that felt familiar: the network would produce a flat gray output image that seemed to be shooting the median pixel value for all of the training data. So I was starting from scratch.
I don't think using rms loss was my issue; this is a pretty standard measure of error for networks that produce images. Learning method matters, so I switched between adagrad and rms prop.
Most autoencoder examples use images no larger than ~120 pixels per side. This makes sense for a lot of applications (e.g. the standard MNIST number recognizer) and certainly cuts down on training time (especially relevant since most available code is sample code). My original goal was a bit higher: 512 squares with larger convolutional kernels. I was aiming to have a network with 40k-1M weights, and perhaps this simply isn't enough to handle such large input. Then again, the point of convolution is to be highly independent of input dimensions, so why would a 64x64 input be any worse than four 32x32s? Among other things, the answer is that each kernel produces a same-size feature map and that quicky eats up available memory.
Proceeding, for a time, with that image size naturally meant smaller training batches. I had hoped to address this simply by doing overnight runs, but after hours my output was still monotone gray and occasionally a checkerboard. I was expecting to see something resembling progress (e.g. blotchy noise) early on.
I pingponged between sample code. Everyone seems to do things a little different - except for the people who just copy and paste the official Keras example and call it their own. It really doesn't help that so many examples are hardwired to use existing models or input data. Swapping snippets isn't hard, it just takes time to get everything rewired for a given method of doing input/batching/display/normalization.
I eventually dialed it down to 32x32 so I could hasten the trial and error process. Previous attempts used a bunch of noise/dropout layers that are generally good practice, but I was concerned some of these might be cranked up too high. Certainly upon re-reading SpatialDropout2D, I realized that cutting an entire feature map from a layer with eight kernels might be a bit heavy-handed. I had quite a few batch normalizers in there as well.
I wasn't sure about the latent layer so I removed that, having seen a number of examples that simply went from convolution to transpose convolution.
What I really noodled on was the output layer(s). The decoder portion of the network is a bunch of transpose convolutional layers that take abstract information and redraw the features that were abstractized by the encoder. So as the decoder traces out a bunch of feature maps from latent space (and maybe enlarges it), you'll end up with a bunch of semi-images that must be recombined. This seems like a crucial step and all of the examples I saw seemed to have a different approach but not much in the way of an explanation of how.
A common approach is an n-channel dense or convolutional layer that takes all the feature maps (width, height, channels, kernels) and spits out an image. This makes sense - the layer uses each kernel's output to decide whether or not to fire. I have however, been wary of the model summaries that show dense layers having not a lot of weights, particularly when troubleshooting an autoencoder that produces no detail.
I found another implementation that used a single-kernel (per channel) 3x3 convolutional layer. While this makes sense for output shape, it seems like you're producing an output image by dragging a 3x3 conv box across a bunch of feature maps. This feels like a massive dumbing down of the elaborately-constructed data.
What I settled on for the back end of the transpose convolutional block was a dense layer with a lot of units. Typically you'll see units = 3 for RGB and 1 for monochrome, since the dimensionality of the output space is a tensor or whatever. I'm sure this is the right approach for many cases and takes advantage of the magic of a dense (weight-shared, not fully-connected) layer, but I was worried about bottlenecks and concerned by the number of parameters associated with the dense(3) layer.
More precisely, I used dense(units=a lot, relu) followed by dense(channels, linear). The first, large, relu layer was meant to combine all of the transpose convolutional feature maps in a manner that allowed a large number of knobs to be turned by the magic of neuroscience, training, and cuda. Then an output-size final layer to decide how to interpret the mess of activations before it. Linear activation is scary since it's combining a bunch of inputs, but makes sense for a 0-255 output.
Trying it out
I have a few data sets to choose from:
Twenty years of photos - unlabeled, large image size, variable subjects.
A few years of screencaps - labeled by game, hd resolution size, variable subjects and styles.
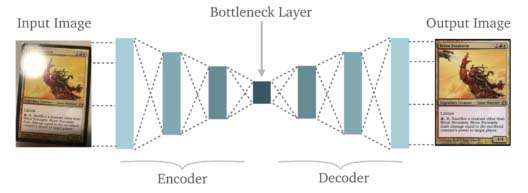
MTG card repo - small images but heavily labeled.
Open source data - boring.
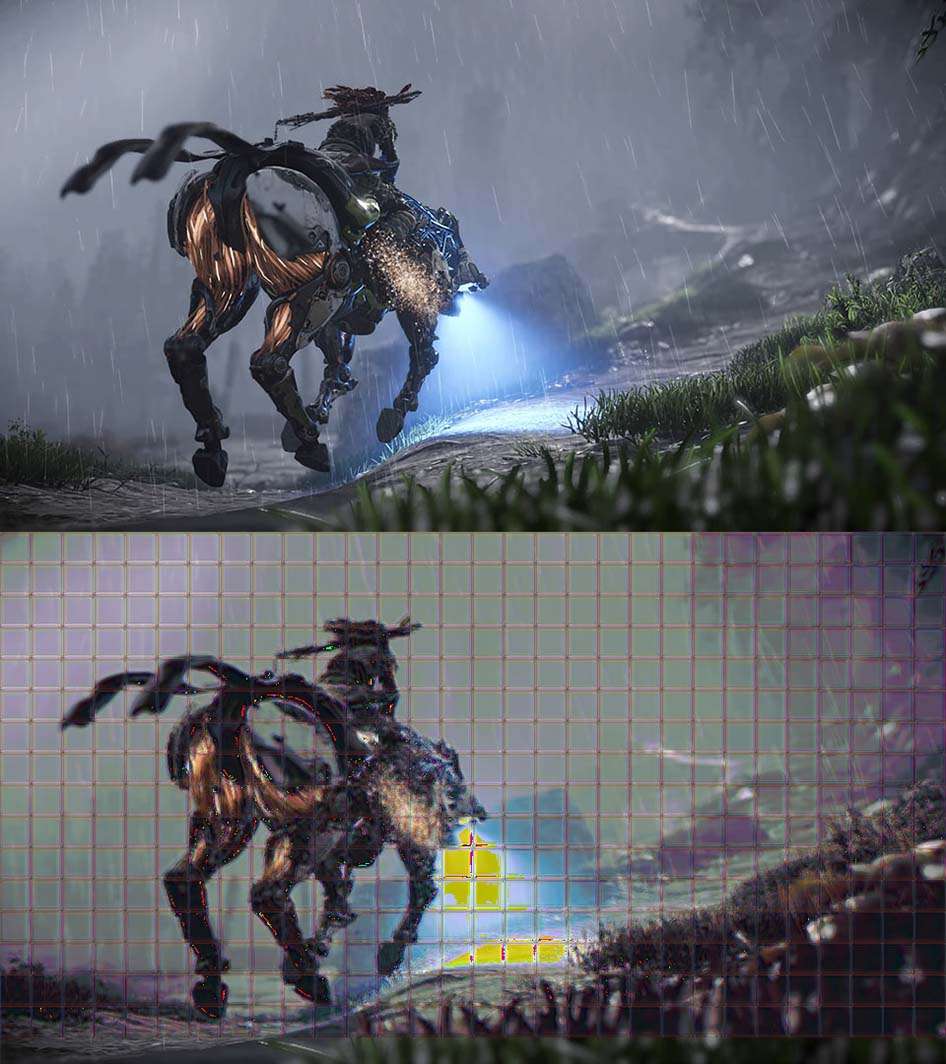
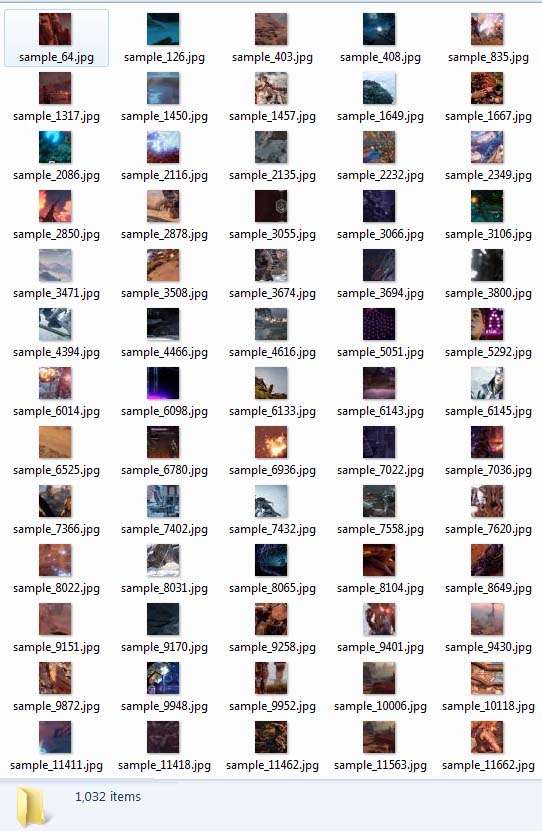
Using my Java graphics library, I wrote an image sampler and set it upon my Horizon: Zero Dawn screencap directory to produce 1000ish 32x32 squares, it started noisy then got better and better:
After an hour or so with a batch size of 160, I was getting down into the 0.00x loss territory. In retrospect, this was despite the fact that my input/output training sets were being independently rotated/mirrored. Whoops. Regardless, output from these small pieces started looking like input, but neither really looked like anything since they were 1/2000th of an image.
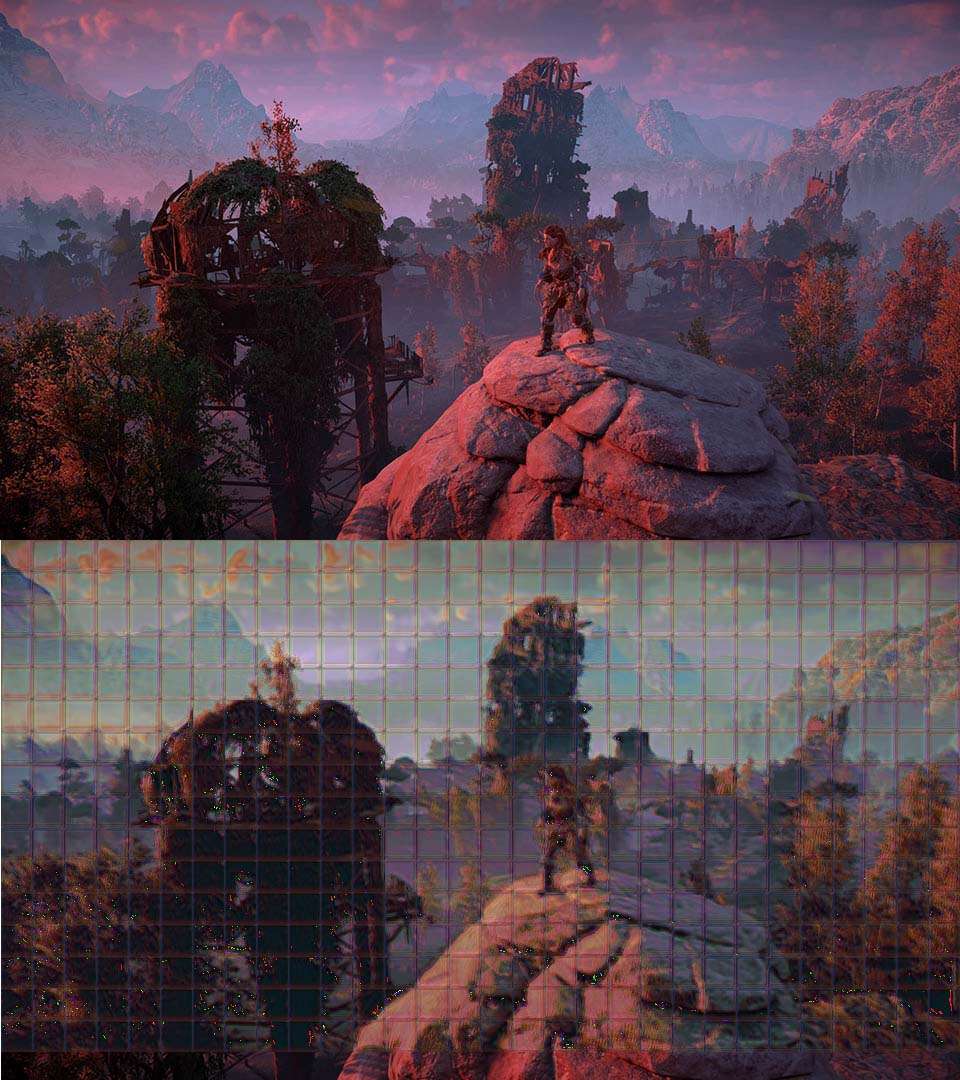
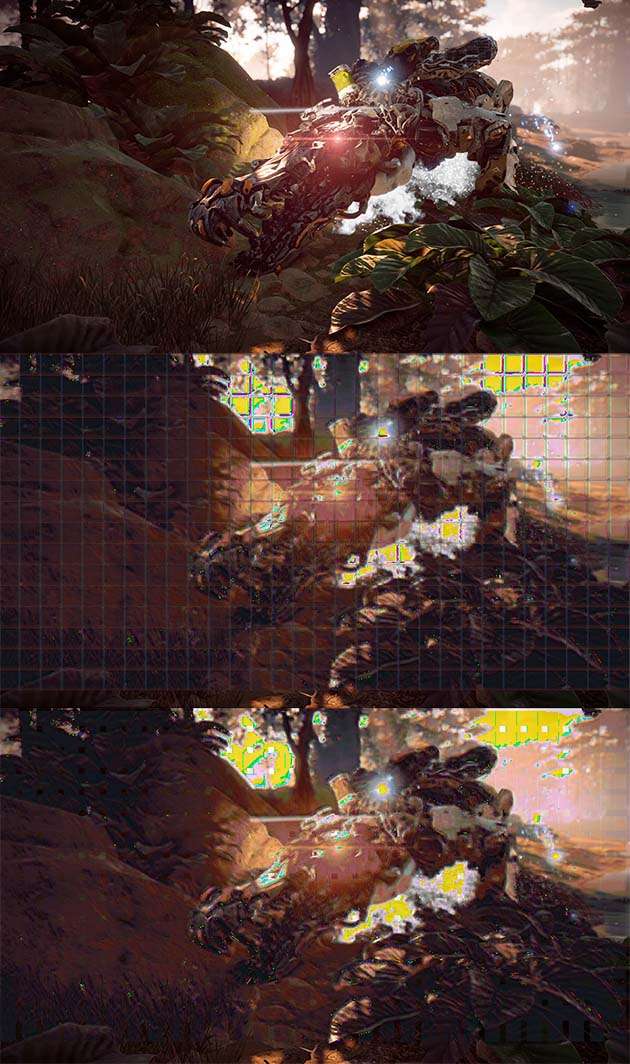
So the next thing was to write a script to apply the autoencoder to an entire image, square-by-square. Not only would this reconstruct something that actually looked like a thing, but it'd be a good test of if the autoencoder was overfitting the training set. The output looked way better than a flat gray png.
The square-by-square application left obvious borders in the decoded tiles. This was likely because edges of each tile have less data than the middle portions. The simple solution was to modify the stitcher to crop the few boundary pixels and change the step size to remove the gaps. The right way to do this, however, is to have a 32x32 autoencoder only produce a 24x24 output, thereby saving on network size and computation.
Next steps
There are a few things to try next:
Implement the 32->24 network.
Re-introduce the latent layer.
Use more similar data. A random HZD screenshot is a fairly arbitrary set of features to be learned. Using like input, I could perhaps get better results.
Adding a post-decoding back end of convolutional layers might be a cheap way to produce sharper images. A better way may be using some existing work.
Other people's (neural) fails
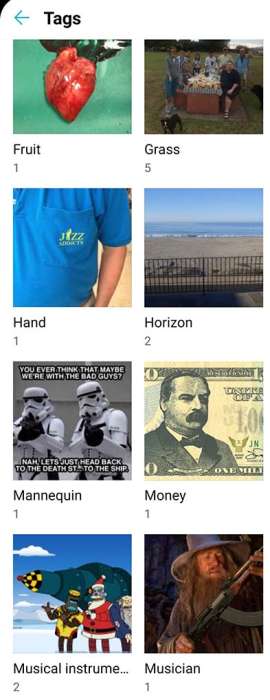
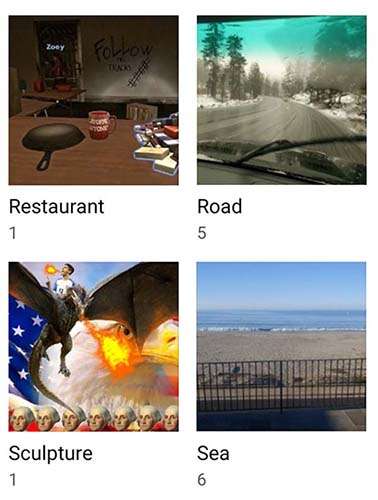
My phone automatically tags images (thanks). Pretty much everything on it is a memebank (because using gif services is cheating). This has resulted in a few awesome fails. Apparently weapons look a lot like musical instruments and a heart looks like a fruit. Stormtroopers are basically mannequins - we all knew that anyway - and jazz addicts use their (jazz?) hands.
On this flip side, I could go for a sculpture of Christian Pulisic riding a dragon.
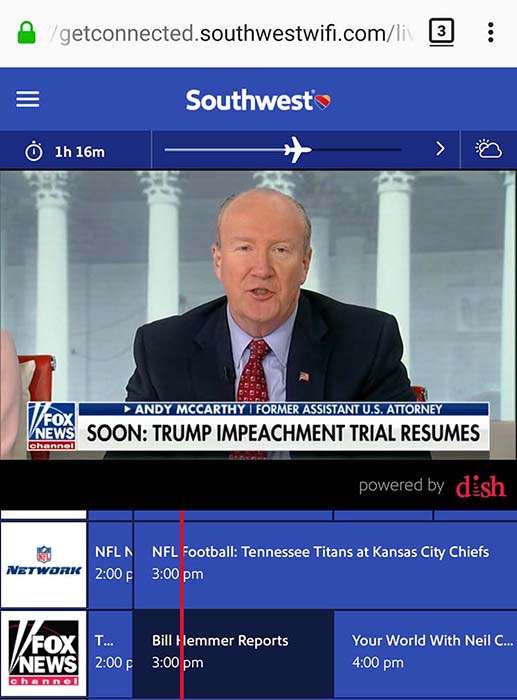
Fox is clearly using a deepfake merge of Donald Trump and Rudy Giuliani for its contributors. Nice try.
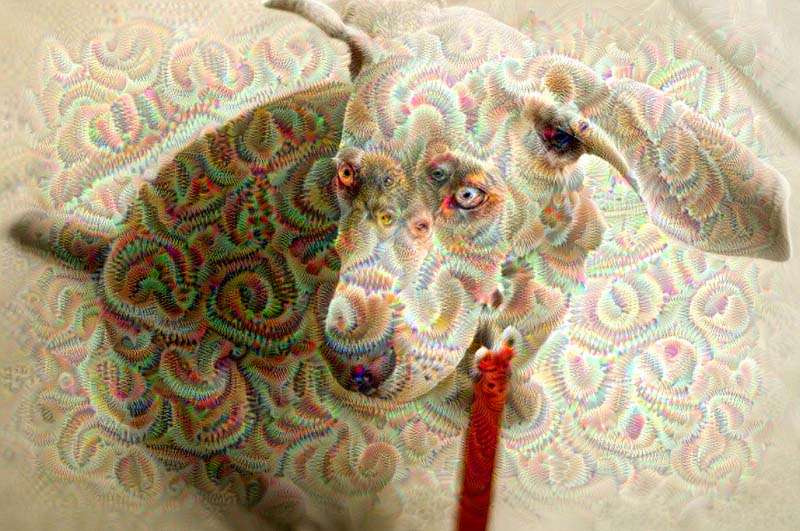
Perhaps I simply don't appreciate it, but it seems like some of these neural algorithms are pretty overhyped. We've already covered neural style transfer, though I kind of like that one. I ran the default example of Deep Dream; it's... a crappy kaleidoscope. And both kind of cheat by modifying the original image with an activated style layer - escaping the problems with generating a wholly new image and making the application of their algorithm extremely slow.
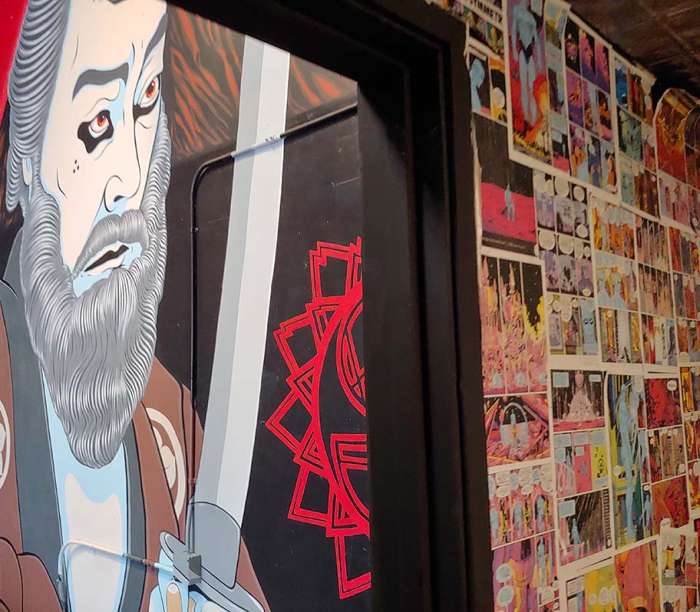
Tool
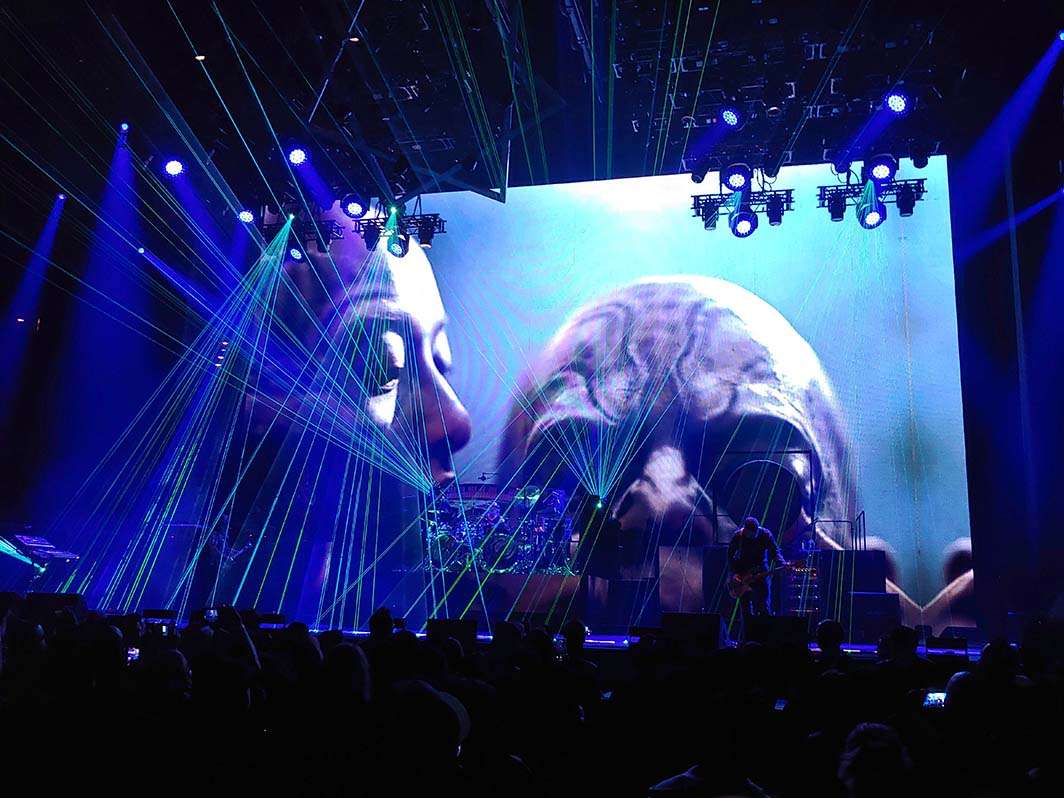
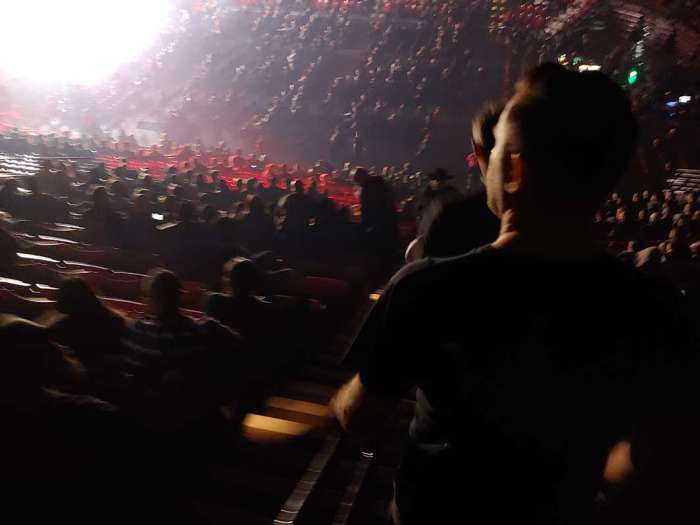
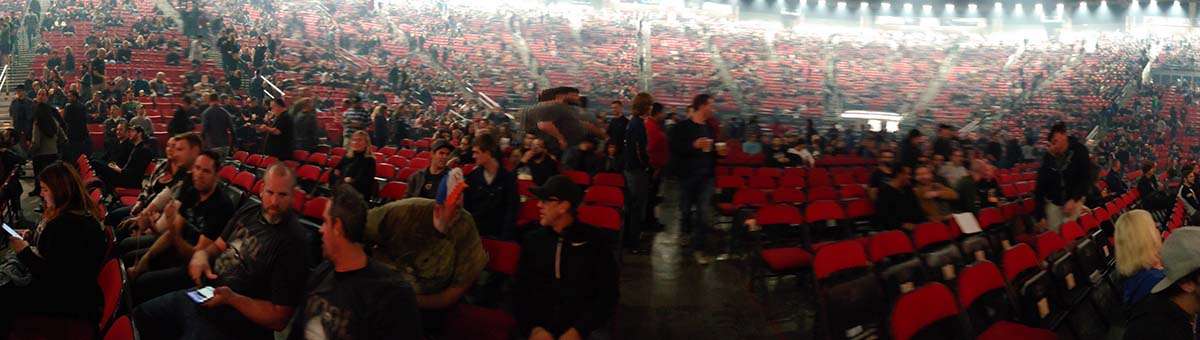
Lee scored some tickets to Tool earlier this month. It was a great show. They were strict about use of cellphones (which was kind of nice) until the encore. I grabbed a couple shots and then went back to enjoying it.
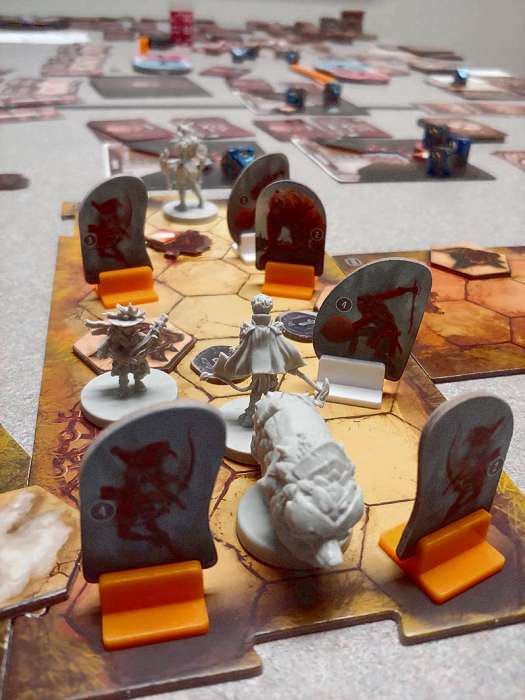
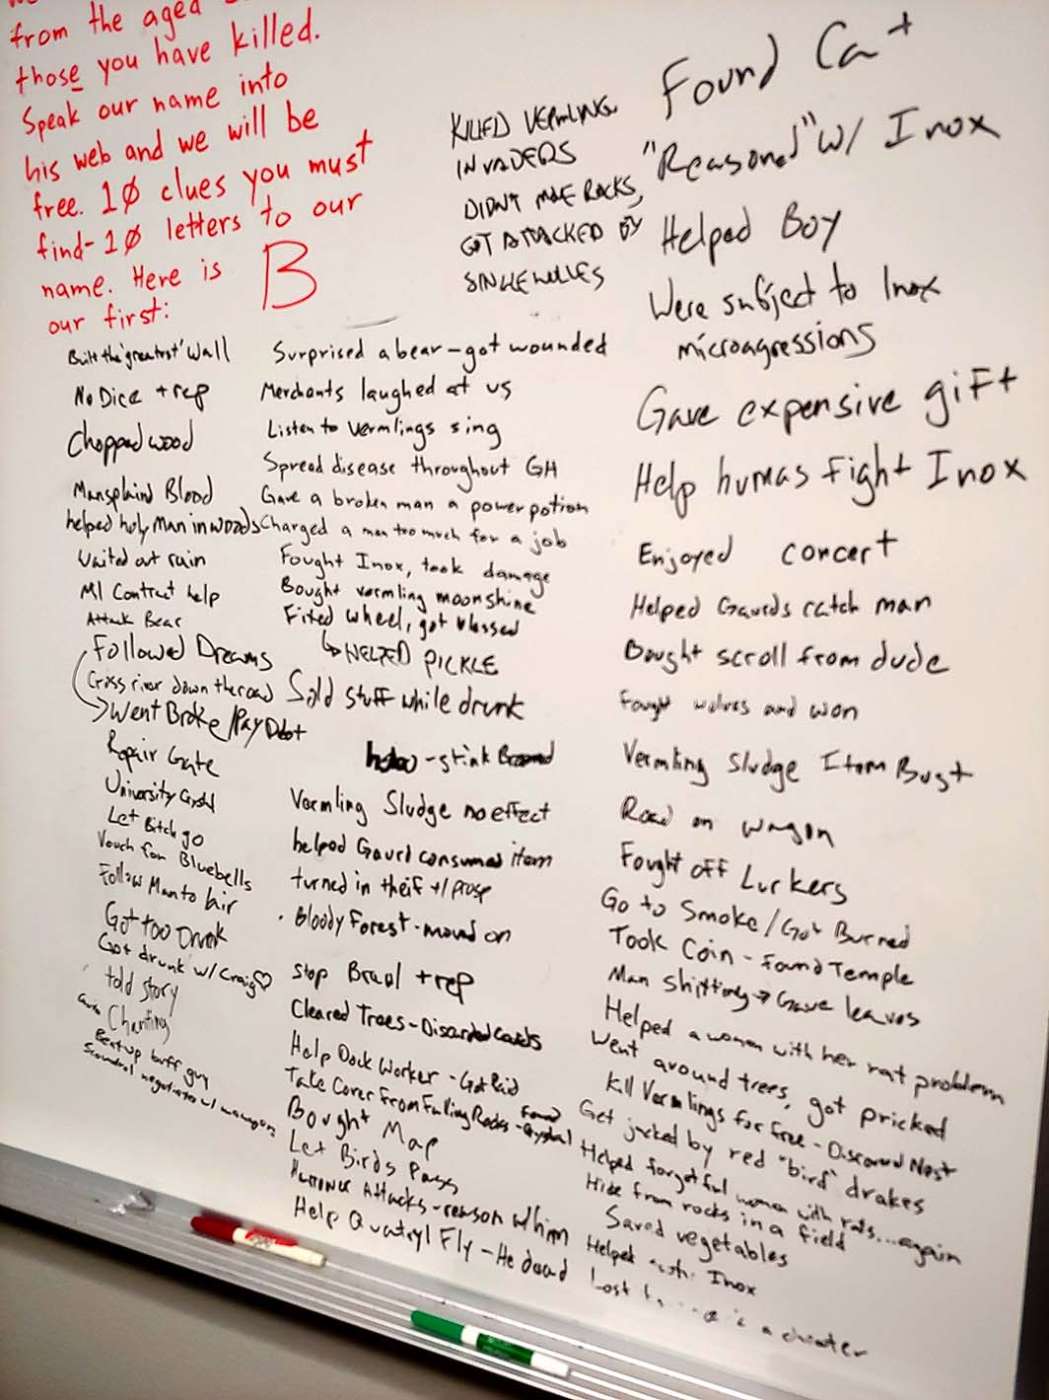
Gloomhaven
The Unnatural Ones' list of exploits keeps growing.
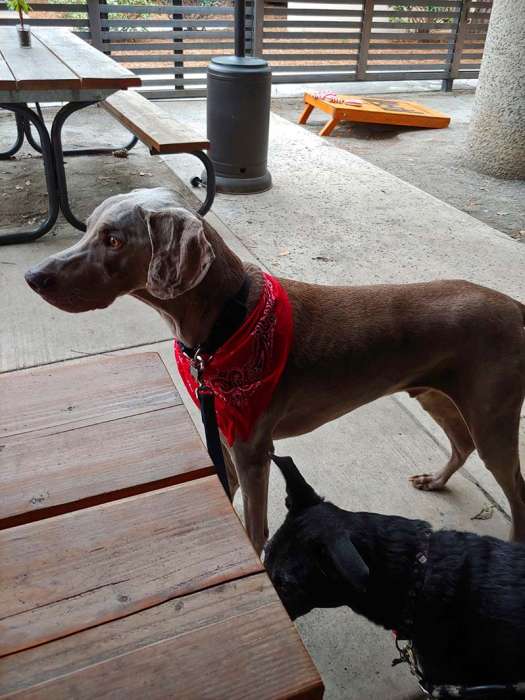
GBES
The Society explored the Miralani Makers District this month.
Thunderhawk Alements was standard Miramar fare, Serpentine Cider was - well - cider. I wasn't especially fond of most of the sakes at Setting Sun, but the place had style.
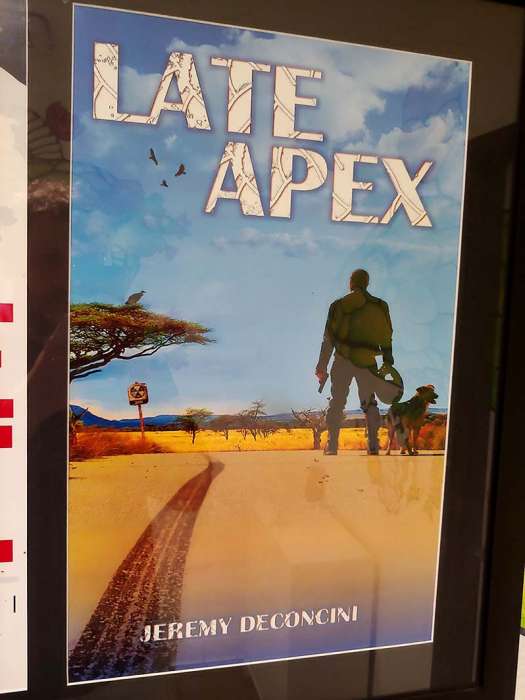
I happened upon a poster and wanted to know more, Katherina Michael's Amazon review.
Ben Adams is a surfer who finds himself responsible for neutralizing a terrorist threat. Well, obviously he?s not just any surfer? he?s a former FBI agent and also felon, who?s now retired and living a life of surfing and drinking beers on the beach. Trying to stay off the radar, he keeps to himself, with few ? if any ? friends, and a loyal dog. But the FBI has some leverage from his past, and has decided that his recklessness is a special talent, so has forced him to go undercover on an insane mission.
If he doesn?t comply, ISIS may get a critical nuclear weapon trigger and Ben would certainly go back to jail. But doing the job will involve high-speeds, high-stakes, and Ben?s own high-jinks thrown into the mix.
Late Apex is the third novel in Jeremy DeConcini?s Ben Adams trilogy. It?s an action-packed and fast paced page-turner in its own right ? you don?t need to have read the first two novels to dive right into this one ? with a rough and tumble hero you?ll love for his irreverence.
Thanks to his work as a Special Agent in the Department of Homeland Security, DeConcini?s experiences and personal political opinions permeate his plot and convince the reader that Late Apex?s storyline is truly plausible. All this to say? this highly enjoyable and suspenseful read seems realistic enough, even as we cringe at the American negligence.
Motorcycle, dog, fallout zone, racing phrase, surfer, FBI... it's like a perfect storm of awesome things. I don't think I'm going to read it though, it sounds like it's trying to be too awesome and can't possibly make it work.
Travel
What's better than an east coast trip during an impeachment trial?
You thought that was rhetorical. Answer: finding a goatse ͥ -inspired lamp.
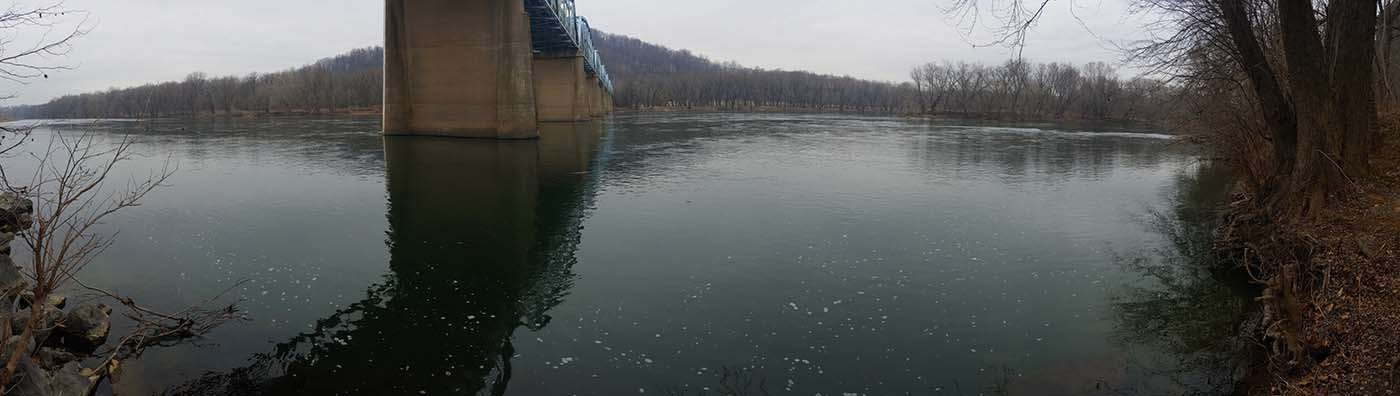
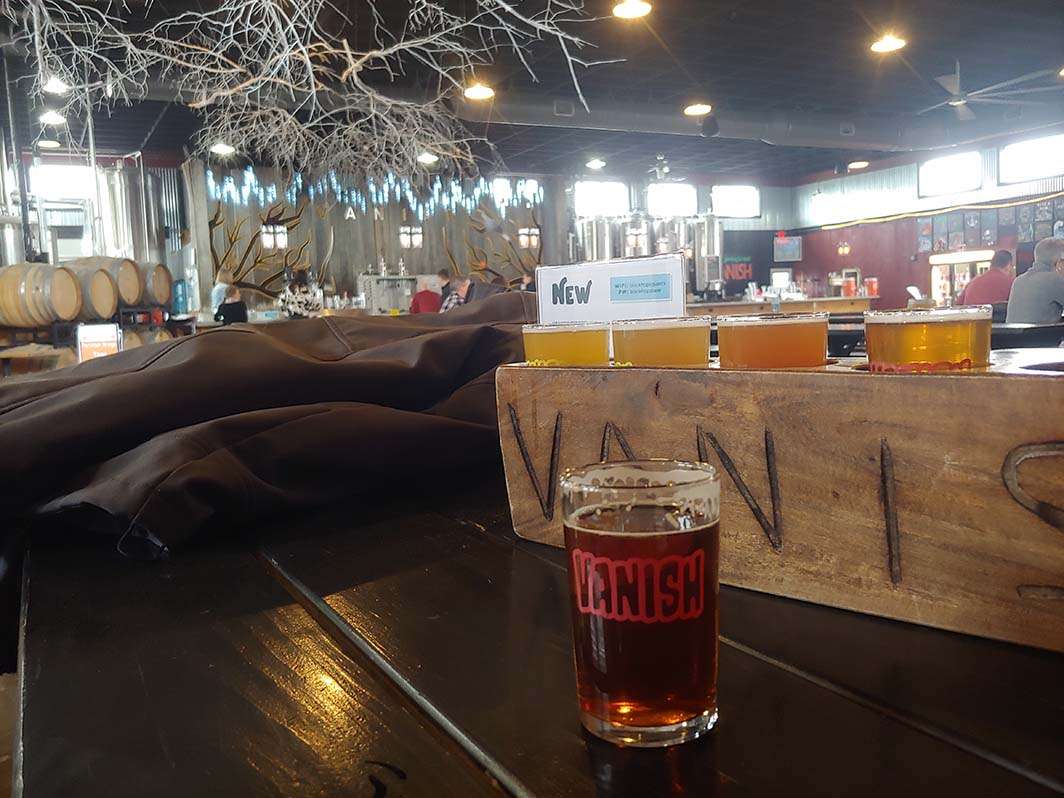
This trip included stops at Dog Money brewery (great graphic design, not great beer), Vanish (good beer, great spot out in the boonies), the Potomac locks, and some other places. J and me finally vanquished Wotan thanks in small part to perfected builds and in large part to the DLC being scaled to player count.
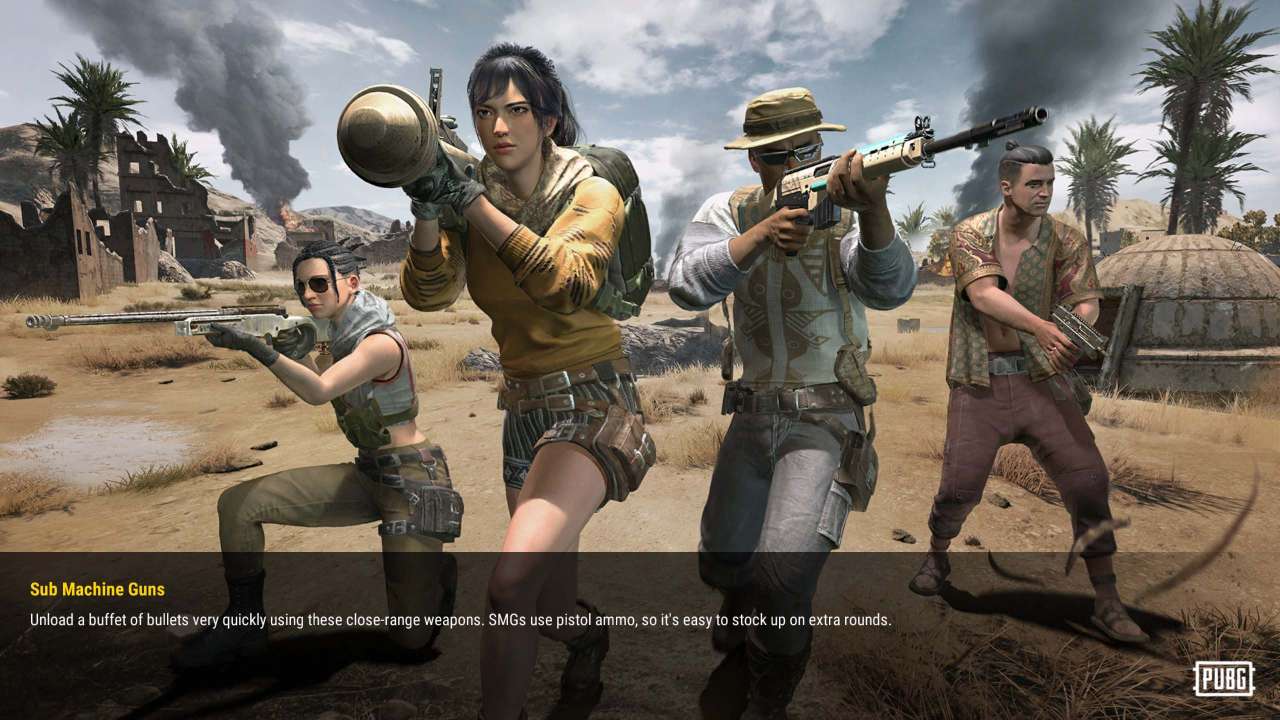
Karakin
It's here, the new speed map. Complete with IEDs, rocket strikes, and...
... RPGs???
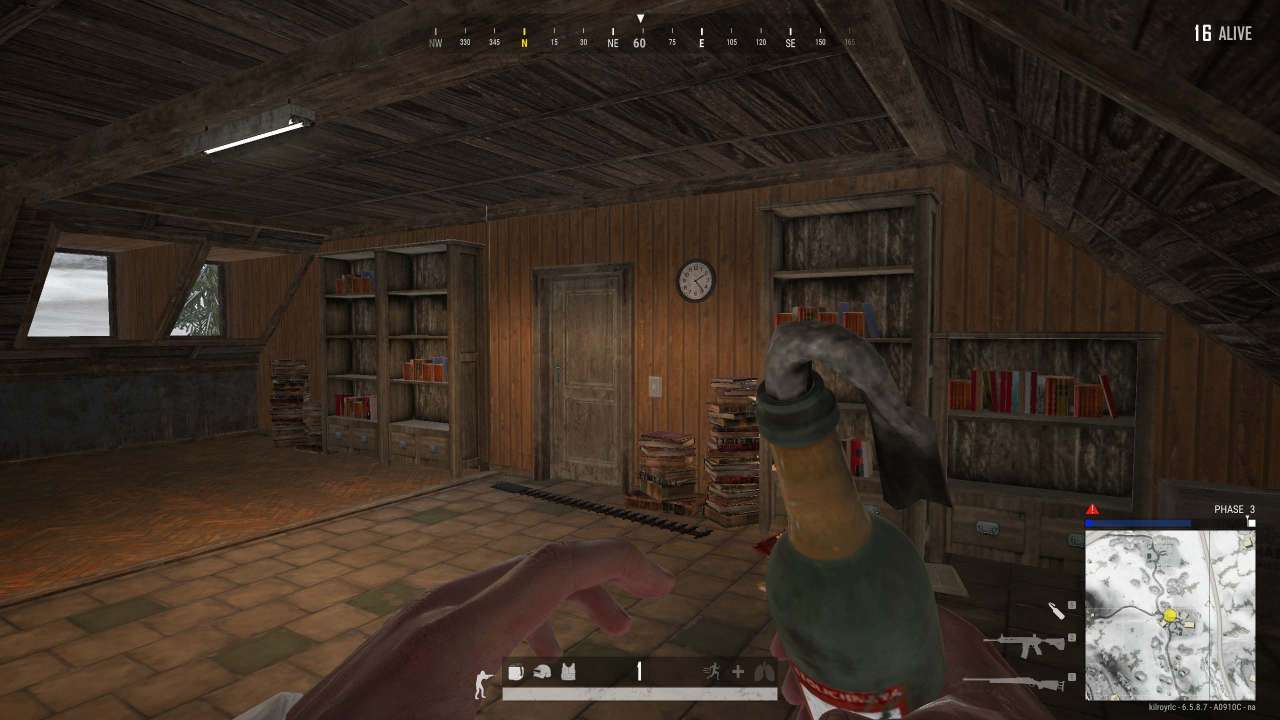
Also I perfected the genius tactic of spike-stripping a door. Then camping it. The spikes are mostly for entertainment.
Very impressive. Please note that any appearance of danger is merely a device to enhance your testing experience.
An implementation of the Burning Ship fractal and some experiments in creating autoencoders. Changing the style layers in style transfer and combining the outputs into a composite image. Mass Effect 3 Leviathan and Omega DLCs.
Reflecting on investments and Warren B. Some sunset surf shots, video games, and AI image stylization.
Related / external
Risky click advisory: these links are produced algorithmically from a crawl of the subsurface web (and some select mainstream web). I haven't personally looked at them or checked them for quality, decency, or sanity. None of these links are promoted, sponsored, or affiliated with this site. For more information, see this post.


![[+]](https://www.chrisritchie.org/kilroy/archive/2019/08/ror_meme.jpg)
![[+]](https://www.chrisritchie.org/kilroy/archive/2015/07/warrior.jpg)
![[+]](https://www.chrisritchie.org/kilroy/archive/2019/10/party.jpg)
![[+]](https://www.chrisritchie.org/kilroy/archive/2016/04/division_helo_00.jpg)
![[+]](https://www.chrisritchie.org/kilroy/archive/2019/12/solar_sc.jpg)
![[+]](https://www.chrisritchie.org/kilroy/archive/2015/02/far_cry_view_00.jpg)
![[+]](https://www.chrisritchie.org/kilroy/archive/2019/12/vr_sc.jpg)
![[+]](https://www.chrisritchie.org/kilroy/archive/2015/11/deezer.jpg)
![[+]](https://www.chrisritchie.org/kilroy/archive/2019/10/chicken_waffle.jpg)
![[+]](https://www.chrisritchie.org/kilroy/archive/2017/07/dying_light_mother.jpg)
![[+]](https://www.chrisritchie.org/kilroy/archive/2019/10/brewery.jpg)
![[+]](https://www.chrisritchie.org/kilroy/archive/2015/02/far_cry_items.jpg)
![[+]](https://www.chrisritchie.org/kilroy/archive/2019/10/risk_of_rain_allies.jpg)
![[+]](https://www.chrisritchie.org/kilroy/archive/2016/08/witches_lair.jpg)